Maple Vanilla Rice Pudding {Lactose-Free}

Is there one food that you love but wonder why you don’t eat more of it?  Rice Pudding is one of those foods for me.  I love the stuff but I only seem to eat it about two times a year.  I don’t why because it’s easy to make and you don’t even have to let it cool.  You can eat it warm, straight out of the pot, if you want.
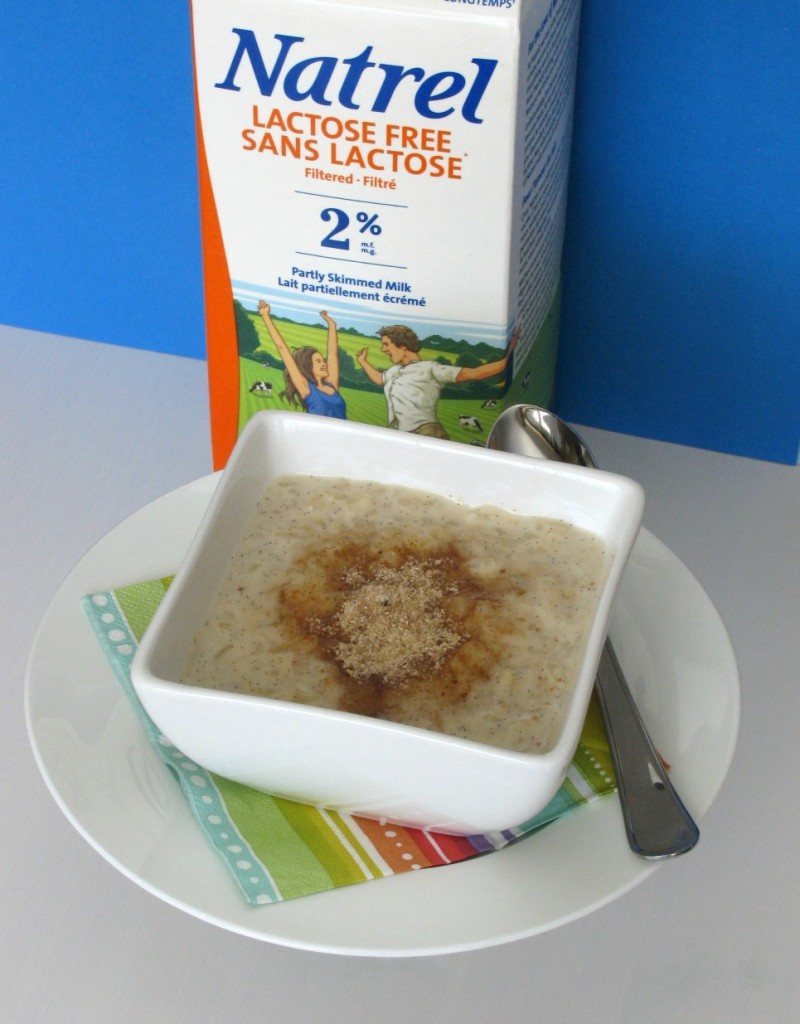
 

Maple Vanilla Rice Pudding

When Natrel contacted me to come up with a lactose-free recipe for their Lactose Free Campaign I immediately said yes.  I always drank regular milk growing up but for the last year or so I’ve made the switch to lactose-free milk.   Natrel’s lactose-free milk is smooth, creamy and delicious.  I actually enjoy drinking milk again!
This Maple Vanilla Rice Pudding is the perfect dessert served warm or cold.  I took advantage of the fact that it was made with lactose-free milk that I had two servings while it was still warm!  It was the perfect afternoon snack.
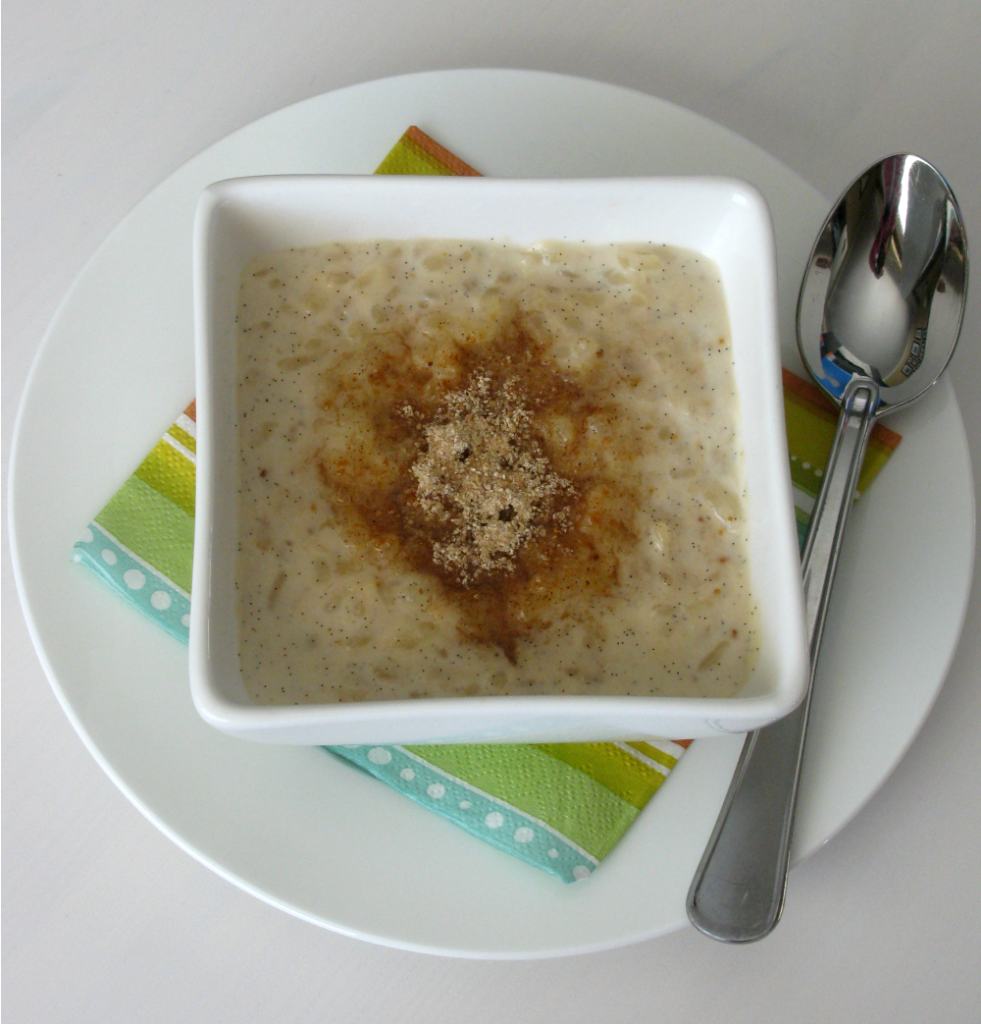
Maple Vanilla Rice Pudding

Can you see all those vanilla beans in there?  I love how such small things can add so much flavor.  I also topped mine with some Maple Sugar Spice (which is optional).  Since I’ve found an amazing lactose-free milk, I know I’ll be making this Rice Pudding many more times!
You can check out my recipe on Natrel’s website here.  Enjoy!
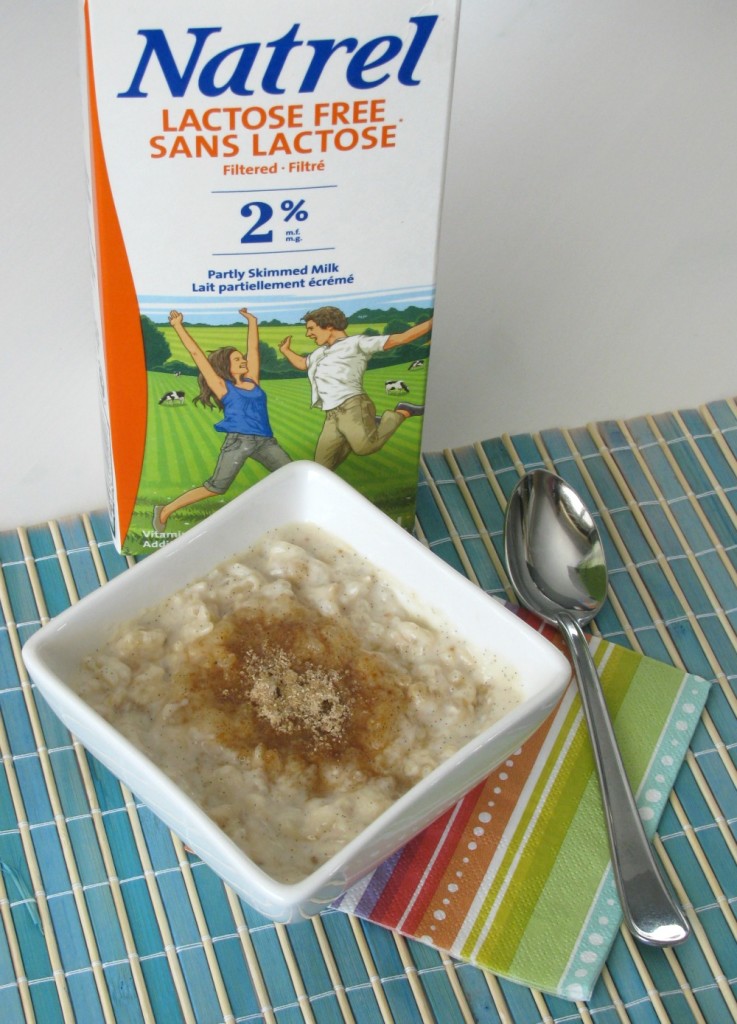
Maple Vanilla Rice Pudding

Maple Vanilla Rice Pudding {Lactose-Free}

Prep Time: 5 minutes

Cook Time: 40 minutes

Total Time: 1 hour, 45 minutes

Yield: 6 servings

A delicious rice pudding infused with maple syrup and vanilla beans. This rice pudding can be made with regular or lactose-free milk.

Ingredients

  • 4 cups Natrel Lactose Free milk
  • 1 ⁄2 cup arborio rice
  • 1 ⁄3 cup maple syrup
  • 1 whole vanilla pod
  • *Maple Sugar Spice (optional)

Instructions
Pour milk into a medium sized saucepan.
Add arborio rice.
Add maple syrup and stir.
Bring to a boil, reduce heat to medium-­low and simmer, stirring frequently for 40 minutes.
Scrape the seeds out of the vanilla pod and stir into rice pudding.
Spoon into individual dishes, let cool slightly, cover with plastic wrap and refrigerate.
You can also enjoy warm, sprinkled with *Maple Sugar Spice.
Enjoy!
Schema/Recipe SEO Data Markup by
https://asweetbaker.com/maple-vanilla-rice-pudding-lactose-free/

Disclosure:  I was compensated for contributing this recipe to Natrel but this post and opinions are my own.

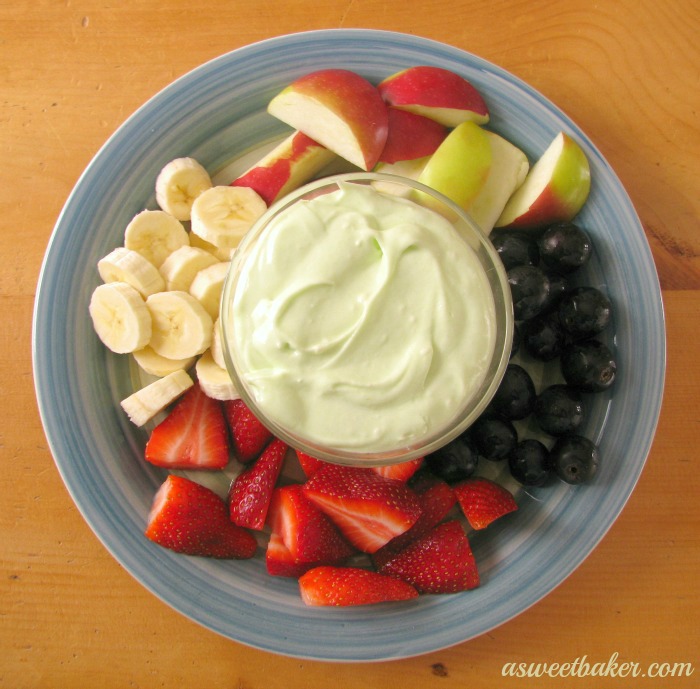
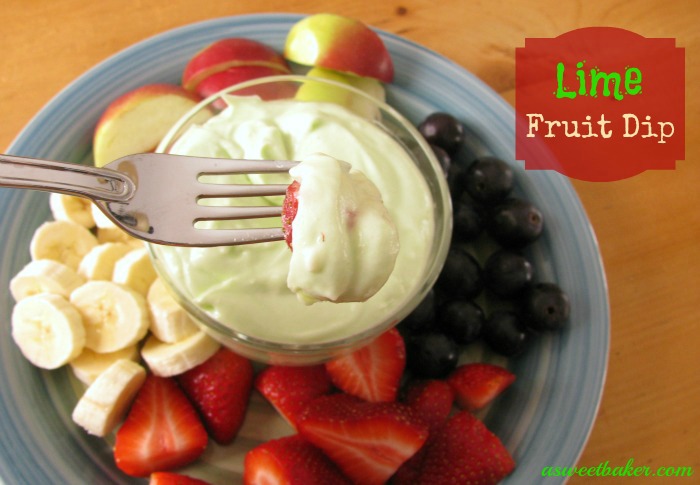
Lime Fruit Dip

Hi everyone!  I’m back from my vacation and I am well rested and looking forward to getting back to baking!  Thank you so much to Niki from Niki’s Sweet Side for guest posting for me while I was away.  Her Strawberry and Brown Sugar Bread sounded amazing and I can’t wait to try it!
Although I ate enough to keep me going for weeks, I didn’t manage to get any pictures of the amazing desserts I had on the cruise.   Just take my word for it…..my pants are a little snug today, to say the least.   Back to healthy eating again and this Lime Fruit Dip is perfect with some fresh fruit.

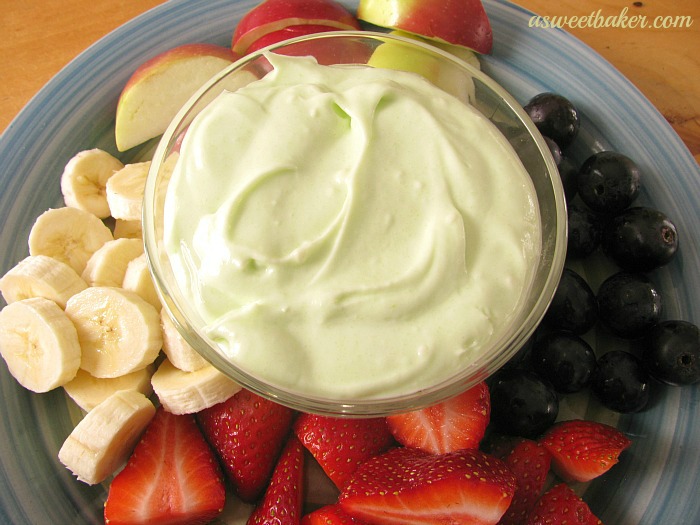
Lime Fruit Dip

I made this dip for my kiddies one day as an afternoon snack and they loved it.  I don’t even think they noticed how much fruit they were eating!  You can make this dip any flavor you want as it uses one box of Jello powder for the flavoring.   I just happened to have lime on hand so that’s what I made.  

Lime Fruit Dip

This fruit dip would also be perfect to take to potlucks or if you need to whip up something last minute.  The longer it stayed in the fridge the thicker it became so you might want to whip it up just before serving.   Or, you can do like my husband did and just eat it right out of the bowl, like pudding, and skip the fruit altogether.  That works too!

Lime Fruit Dip

Lime Fruit Dip

Prep Time: 10 minutes

Total Time: 10 minutes

Yield: approximately 3 cups

A tasty dip that kids will love to dip their fruit in. You can also use this to dip cookies, pretzels, or cake pieces in!

Ingredients

  • 1/2 cup cold milk
  • 1 Pkg. Whipped Dessert Topping
  • 1 pkg. cream cheese, room temperature
  • 1 pkg. lime jello
  • 1/2 cup icing sugar (Confectioner's sugar)

Instructions

In your stand mixer, pour in your cold milk and the Whipped Dessert Topping. Whip on med-high speed until thick and fluffy.
Add the cream cheese and mix until creamy and smooth.
With the mixer on low, pour in the lime jello, combine, and then slowly add the icing sugar. Continue mixing until add ingredients are well combined and smooth.
Pour into a serving bowl and serve with freshly cut fruit.
Enjoy!
Schema/Recipe SEO Data Markup by
https://asweetbaker.com/lime-fruit-dip/

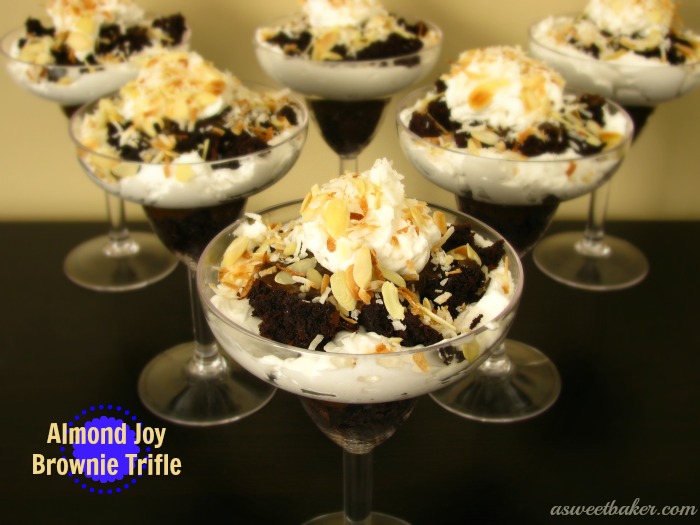
Almond Joy Brownie Trifle

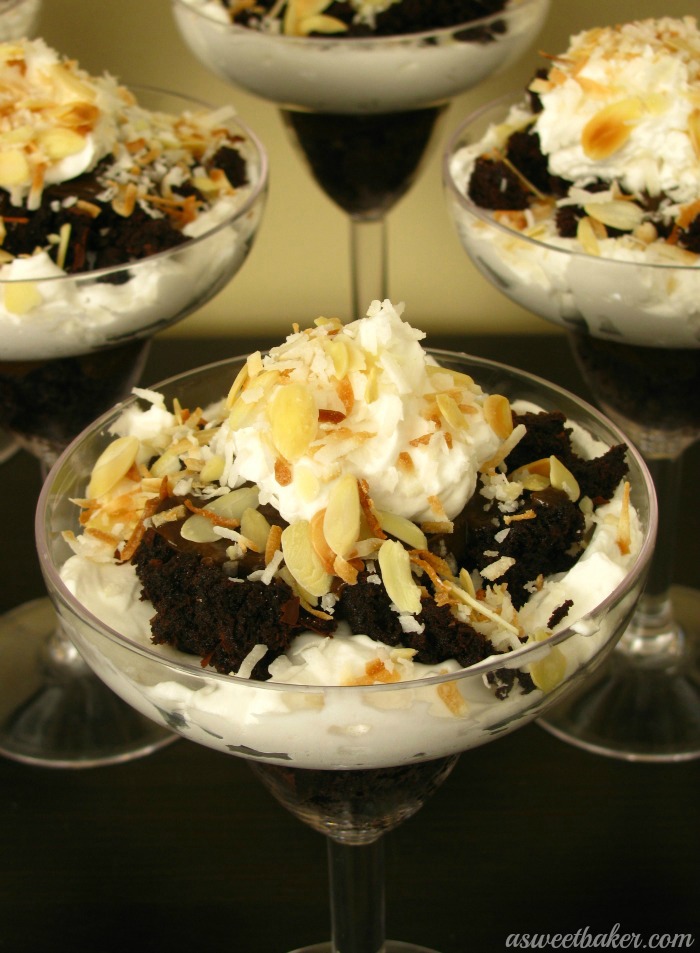
If you need a quick, light and delicious dessert recipe, then you need to try these Almond Joy Brownie Trifles.  I made them in the afternoon for a dinner party in the evening and I was happy how they turned out!

Almond Joy Brownie Trifle

I was originally  going to make Raspberry & Brownie Trifles but since it’s not the right season for raspberries, and after seeing the price of them at the grocery store, I quickly thought of something else.  I was passing by the chocolate and candy section in the store and noticed a package of Almond Joy chocolate bars.  It was a package with 8 mini (like Halloween-size) chocolate bars inside.  Once I saw them I knew they were going to be part of these trifles.  I had to describe them to my husband, though, because he claims he’s never heard of Almond Joy.  So I said, you know the Bounty chocolate bar?  Just like that, only with an almond on top!
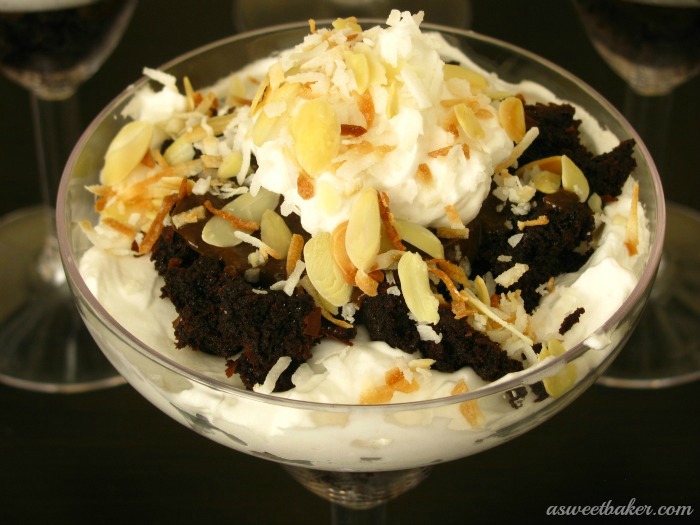
But, you know what?  Did you notice the pictures?  I forgot to take the pictures with the little Almond Joy chocolate bar on top!  I don’t know how I forgot but, whatever!  You get the point!

Almond Joy Brownie Trifle2

I was surprised how light they turned out and I can’t wait to try some other variations.  What about some angel food cake and berries in the summertime!   Sounds good to me!

Almond Joy Brownie Trifle3

Almond Joy Brownie Trifle

Prep Time: 30 minutes

Cook Time: 30 minutes

Total Time: 1 hour

Yield: 6 servings

A perfect dessert that's light and delicious filled with chocolate, almonds and coconut. It's all topped with a mini chocolate bar!

Ingredients

  • 1 box Brownie mix
  • 1 box of Whipped Dessert Topping (contains 2 packages)
  • 1 box instant chocolate pudding
  • 3 cups cold milk
  • 1 cup coconut, toasted
  • 1/2 cup slivered almonds, toasted
  • 1 package of Almond Joy mini chocolate bars (contains 8 pieces)

Instructions

Preheat oven to 350 F.
Lightly grease an 8X8 square pan and set aside. You will use this for the Brownies.
Prepare Brownie mix according to box directions, cook, and then let cool completely.
Prepare both packages of Whipped Dessert Topping with 1 cup of cold milk (or according to package directions) in a stand mixer or with a hand-held mixer until soft peaks form. Cover and refrigerate.
Prepare instant chocolate pudding according to package directions. I used 2 cups of cold milk. Cover and refrigerate.
To toast the coconut and almonds, use a shallow pan and spread both ingredients out evenly. Broil in the oven for about 5-8 minutes or until coconut and almonds are golden brown.
Once all ingredients are prepared and cooled, you're ready to assemble the trifles.
You can put these ingredients in any order you wish but this is what I did.
1 piece of brownie on the bottom.
Chocolate pudding to cover the brownie piece.
Whipped dessert topping to cover the pudding.
One generous tablespoon of the toasted coconut and almond mixture.
Repeat once more (I crumbled the brownies for this layer) and top with one mini Almond Joy chocolate bar.
Enjoy!
Schema/Recipe SEO Data Markup by
https://asweetbaker.com/almond-joy-brownie-trifle/

Chocolate Biscoff Truffles

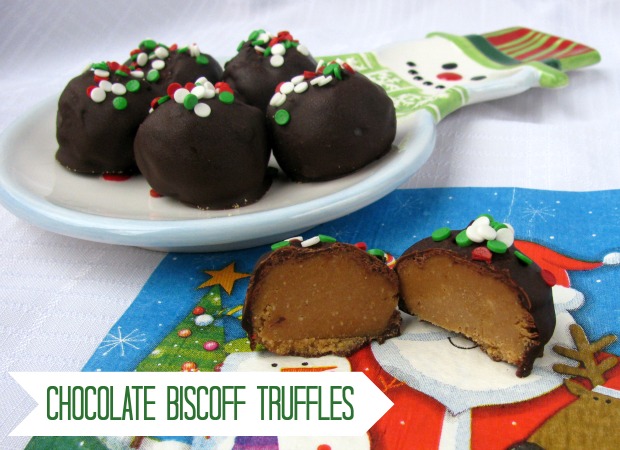
If you’ve been following my blog lately I’ve recently discovered the awesome yumminess of Biscoff.  On my shopping trip to the US I picked up one jar of Biscoff to try.  Why didn’t I pick up at least 4 or 5  jars I’ll never know.  I guess in my head I was assuming that it would have a granular texture.  Don’t ask me why, that’s just what I thought.  Boy, was I wrong!  Biscoff is smooth as silk and the taste is everything I imagined.

When our family went to Fort Myers, Florida over the March Break  we were given Biscoff cookies on the plane.  I always ate mine and tried to steal them from my kids too!  Needless to say, I regret not getting more jars of this heavenly stuff.  Maybe this calls for another road trip in the near future.  Yeah, that’s it!

When I decided to make these truffles half the jar of Biscoff was already gone!  WTH?  I had only had one spoonful!   I quickly went to work at making these truffles before anyone else could get their hands on it.   I’m also freezing this batch so that I can savor them in peace over the Christmas holidays.  Will I share?  Maybe.  Maybe not!

P.S.  Sorry, I’ve been so bad at posting lately and I only have this one picture to show.  I’ve been really busy and my camera batteries died on me in the middle of taking these pictures.  I promise I’ll get my act together, especially since I’ve already started baking for the Christmas holidays!

Chocolate Biscoff Truffles

Prep time:
Total time:
Serves: 12
These delicious balls are creamy and smooth surrounded by a chocolate coating.
Ingredients
  • 1/2 cup Biscoff spread
  • 1/4 cup cream cheese, softened
  • 1/4 cup graham cracker crumbs (or Biscoff cookies, crushed, if you have some!)
  • 2-3 squares of semi-sweet baking chocolate
Instructions
  1. Mix Biscoff spread and cream cheese in a bowl until combined and creamy.
  2. Add graham crackers crumbs and stir.
  3. Refrigerate dough for 20-30 minutes or until dough is cold enough to form into balls.
  4. Using a 1 tbsp. measuring spoon, form dough into balls.
  5. Return to fridge (or freeze) until you’re ready to coat in chocolate.
  6. Place chocolate in a glass bowl and microwave until melted. Using a skewer, dip balls into chocolate until evenly coated. Return balls to a lined baking sheet until chocolate has hardened. Refrigerate or freeze. Enjoy!

15 Kid-Friendly Halloween Treats!


With Halloween just around the corner I’m always stumped at what to make for my kids’ school parties/celebrations.  I also have to admit that I am not a fan of Halloween (yes, I said it!).  Don’t get me wrong, I like all the treats, baking, and candy my kids get trick-or-treating, but I don’t like the decorating or dressing-up part.  If I get invited to a Halloween Party I can quickly come up with a excuse  reason why I can’t attend.  I know it’s fun for the kids and I actually get excited for them, but let’s just leave it to the kids!

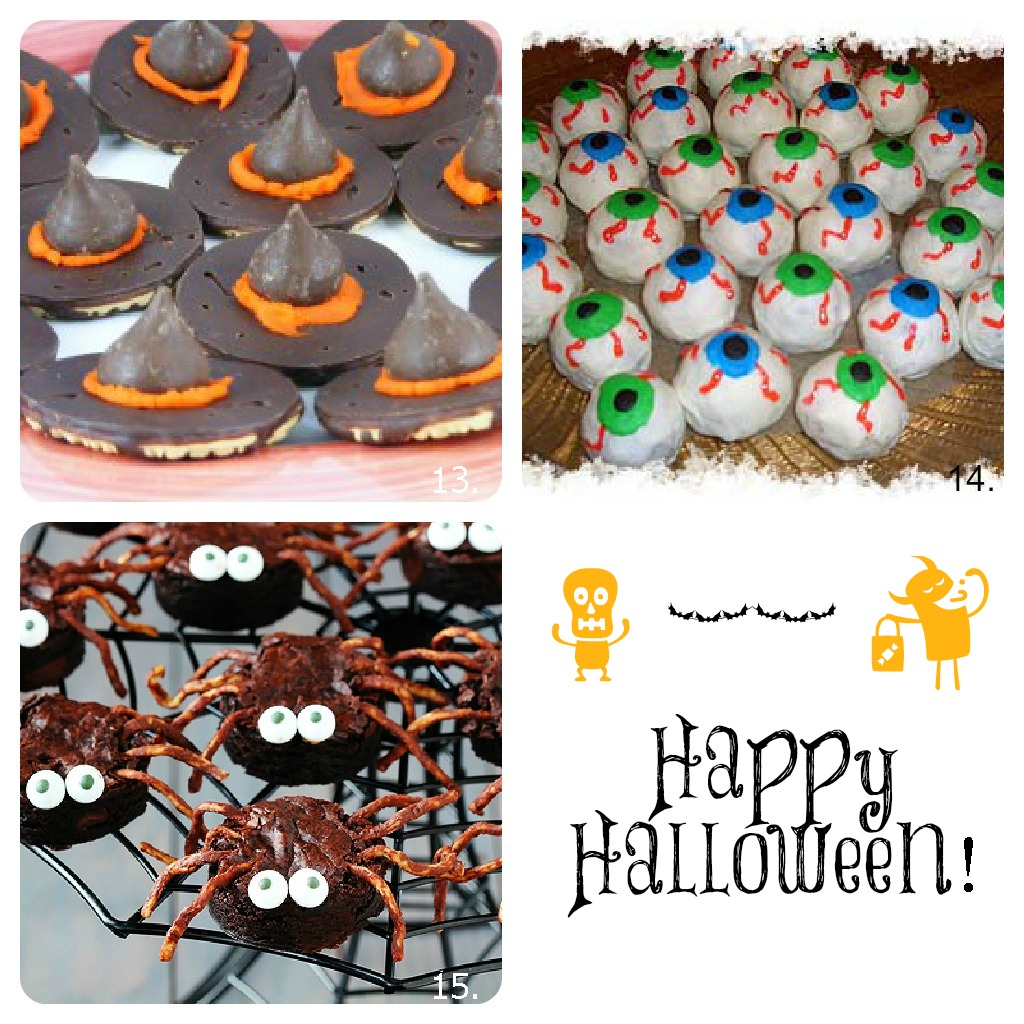
Here are some creative, fun ideas to get your Halloween baking off to a good start.  I know this weekend I will be doing some baking and costume planning for my 3 kiddies!  Enjoy :)

1.  Halloween Bark – Pint-Sized Baker  2.  Spooky Worms & Spiders Nests - A Spicy Perspective         3.  Witche’s Broomstick Cookies – Dragon’s Kitchen   4.  Witches Fingers – Deep in the Heart of Arkansas

5.  White Chocolate Candy Corn Popcorn – Bakerita  6.  Candy Apples -   7.  Spider Web Cupcakes - Little Birdie Secrets   8.  Candy Corn Marshmallow Pops – Best-Friends for Frosting

9.  Pumpkin Rice Krispies Treats – Food Family Finds  10.  Vampire Punch – Cookin’ Canuck    11.  Dracula’s Dentures - The Girl Who Ate Everything      12.  Halloween Snack Mix –

13.  Witch Hat Cookies - The Meal Planning Mom Blog   14.  Eyeball Donuts - Divine Dinner Party     15.  Brownie Spiders – Gimme Some Oven


Linked up at:  Crazy for Crust, Chef In Training, Mommy’s Sweet Confessions, Mandy’s Recipe Box, 33 Shades of GreenLil’ Luna, Inside BruCrew Life, DJ’s Sugar Shack, At Home Take 2, Something Swanky, Back 4 Seconds, Sweet Bella Roos, Kitchen Fun with my 3 sons, Alli-n-son, Simple Living with Diane Balch, Miss Information, Lori Ann’s Food & Fam, Tatertots & Jello, Cheerios & Lattes, Six Sisters’ Stuff

< <