Reese’s Peanut Butter Cup Pie

Not only was this one of the best pies I’ve ever had, it also happened to be made especially for my son, Isaac’s, 10th birthday.  My son is a big fan of Reese’s Peanut Butter Cups and, like me, he doesn’t care for cake.  So when I asked him what he wanted for his birthday dessert he said a pie and that I could surprise him with the flavor.  Well, once he said that, I knew immediately that I was going to make him this Reese’s Peanut Butter Cup Pie!Reese's Peanut Butter Cup Pie
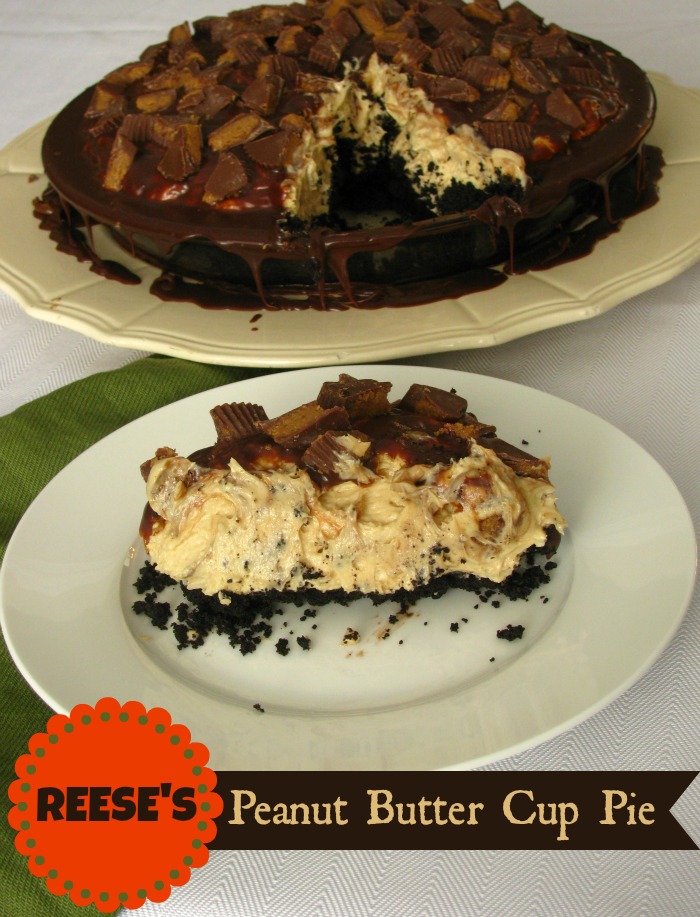
I actually  made two different Reese’s Peanut Butter Cup Pies but this is the one that turned out the best.  Although the other one was delicious, I should have made it in a bigger pan and it probably would have turned out better.   For this pie, it uses cream cheese and real whipped cream for the filling which kept it light and fluffy.  The top, as you can see, is topped with chocolate ganache and Reese’s Peanut Butter Cups.  Heaven!

Reese's Peanut Butter Cup Pie


I still can’t believe my first-born is 10 today!  It feels just like yesterday that I was cuddling him in my arms and kissing his little neck.  You never know what kind of person your children will grow up to be like, but I know that my son is growing up to be one beautiful person.  He is kind, smart, sensitive, caring, thoughtful, and my heart has never been the same since he came into my life.  Even though he turns 10 today, he will always be my little boy!
 Happy Birthday Isaac!  I love you more than you’ll ever know!

Reese's Peanut Butter Cup Pie


Reese’s Peanut Butter Cup Pie

Prep Time: 45 minutes

Cook Time: 10 minutes

Total Time: 2 hours, 55 minutes

Yield: 1 (9-inch) pie

This pie is definitely for peanut butter lovers! A creamy peanut butter pie with a chocolate crust and topped with Reese's Peanut Butter Cups!

Ingredients

  • Crust:
  • 2 cups chocolate cookie crumbs
  • 6 Tbsp. butter, melted
  • Filling:
  • 12 ounces cream cheese, room temperature
  • 1 & 1/2 cups creamy peanut butter
  • 1 cup sugar *
  • 1 cup 35% whipping cream
  • Topping:
  • 2 Tbsp. sugar
  • 1/2 cup 35% whipping cream
  • 1/2 cup chocolate chips, milk or semi-sweet
  • 4 Tbsp. butter
  • 1/2 tsp. vanilla
  • 12 Reese's Peanut Butter Cups, chopped into pieces

Instructions

Preheat oven to 350 F.
Add cookie crumbs and melted butter to a bowl and mix together with a spoon. Press evenly into the bottom of a 9" pie plate. Bake for 10 minutes and let cool completely before adding the filling.
In a stand mixer, beat together the cream cheese and peanut butter until light and fluffy. Add the sugar and vanilla and mix well.
In a separate bowl, beat the whipping cream on high until it stiff peaks form. Fold this whipped cream into the peanut butter and cream cheese mixture until well blended. Spoon into the crust and refrigerate for 1-2 hours.
For the topping, use a small saucepan and combine sugar and cream and bring to a boil. Remove from heat and whisk in butter, chocolate and vanilla until all the chocolate is melted. Let cool until lukewarm but you're still able to pour.
Once topping is cool enough, pour evenly over entire pie. You might want to put the pie plate on another plate or parchment paper to catch the excess that drips off.
Sprinkle Reese's Peanut Butter Cups evenly over the top and gently push them in so they don't fall off.
Refrigerate for 4 hours or overnight before serving.
Enjoy!
Recipe slightly adapted from Cinnamon Spice & Everything Nice

Notes

* I found that the 1 cup of sugar was way too sweet for me, so you can adjust to your liking.
Schema/Recipe SEO Data Markup by
https://asweetbaker.com/reeses-peanut-butter-cup-pie/

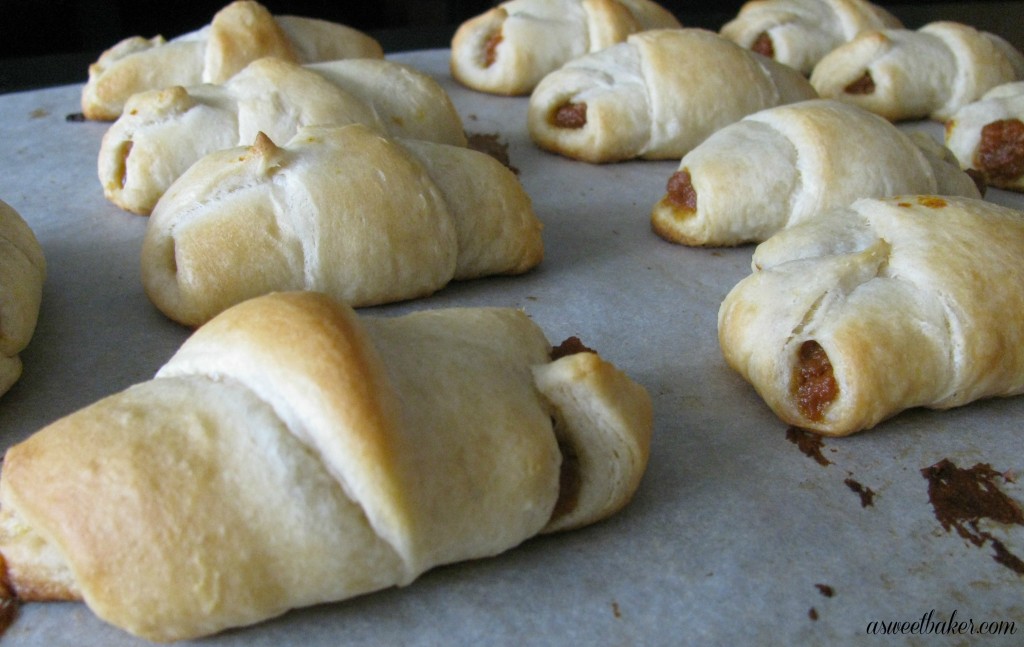
Pumpkin Pie Crescent Rolls


 Before I start on about these delicious rolls I have to update you on my wrist.  I went to the doctor’s yesterday morning and had my cast taken off.  After 7 weeks with it on you would think that it would be healed, right?  Well, after it came off I went up to the x-ray department and had new x-rays taken just to confirm that it was healed.  My doctor told me that he’d call me with the results.  I spent the remainder of the day and night cast-free, feeling that something was just not right.  I couldn’t move my hand without feeling sick.  My husband has always told me to trust my gut feelings so that’s what I did.  This morning I went to a fracture clinic and showed them my x-ray from yesterday and the Orthopedic Surgeon said that my wrist is still fractured!  I was put in a new cast (blue this time) and have to have it on for another 3 weeks!  That’ll be 10 weeks in total!  I don’t know if I’m a slow healer or if my age is finally catching up with me.  Either way, I have to take it easy for another 3 weeks and continue wearing a Wal-Mart shopping bag in the shower.
 
So, enough about me……on to these rolls!
 
 
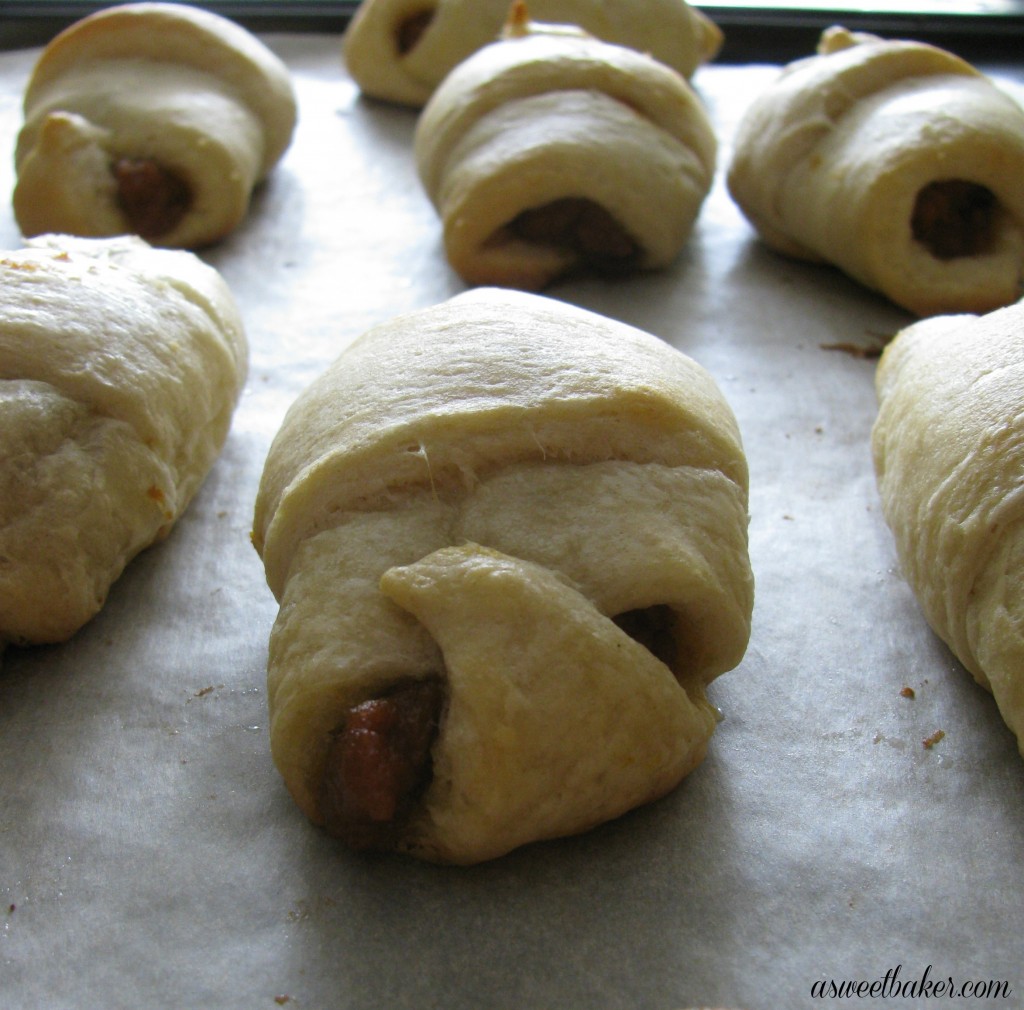
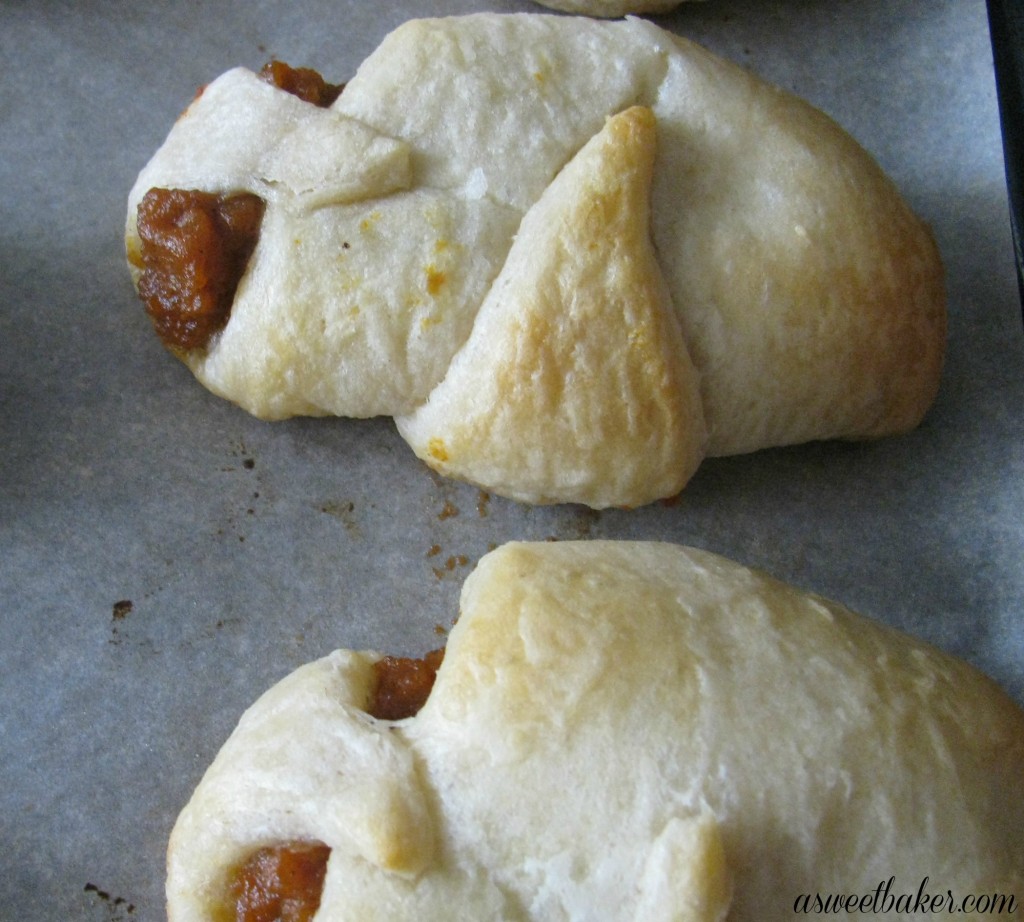
Pumpkin Pie is something most people only cook once a year.  Why?  It’s a popular pie but I think it’s often associated with Thanksgiving.  I wanted to bake something using pumpkin and once I found this recipe I knew that it would be easy enough, and fun, to do with the kids.  The only thing I didn’t do was drizzle honey over the top which I would do next time.  The crescent roll dough wasn’t sweet enough and could have used that little bit extra. 
 
Now these are something simple enough to make any time of year!  Enjoy!


 Linked up at:  Lil’ Luna, Crazy for Crust, Inside BruCrew LifeChef in Training, Mandy’s Recipe Box, DJ’s Sugar Shack, At Home Take 2, Something Swanky, Back 4 Seconds, 33 Shades Of Green, Mommy’s Sweet Confessions, Sweet Bella Roos, Kitchen Fun with my 3 sons, Alli-n-son, Simple Living with Diane Balch, Miss Information, Lori Ann’s Food & Fam, Tatertots & Jello, Cheerios & Lattes
 
Recipe adapted from Barns and Noodles
Pumpkin Pie Crescent Rolls

Prep time:
Cook time:
Total time:
Serves: 16
Quick, easy rolls that you can make any time of the year!
Ingredients
  • 2 cans Pillsbury Crescent Rolls
  • 1 can (19 oz. or 540 mL.) E.D. Smith Pure Pumpkin
  • 1 tsp. vanilla
  • 1 tsp. cinnamon
  • 1/2 tsp. all-spice
  • 1/2 cup packed brown sugar
Instructions
  1. Preheat oven to 375.
  2. Mix pumpkin, vanilla, cinnamon, all-spice, and brown sugar in a bowl and set aside.
  3. Line cookie sheet with parchment paper and roll out crescent rolls.
  4. Spread a spoonful (or more) of pumpkin mixture onto the wide end of the crescent roll and roll up, leaving the tip of the triangle face-up.
  5. Bake for 10-12 minutes or until golden brown.
  6. Enjoy!
 

Raspberry Pie

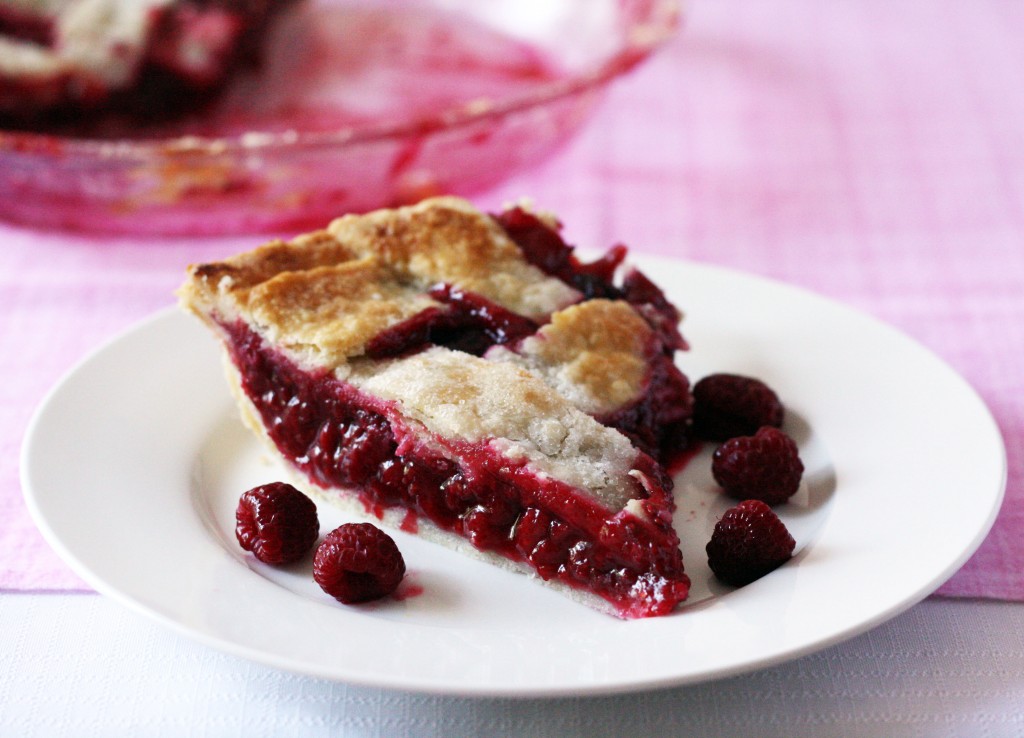
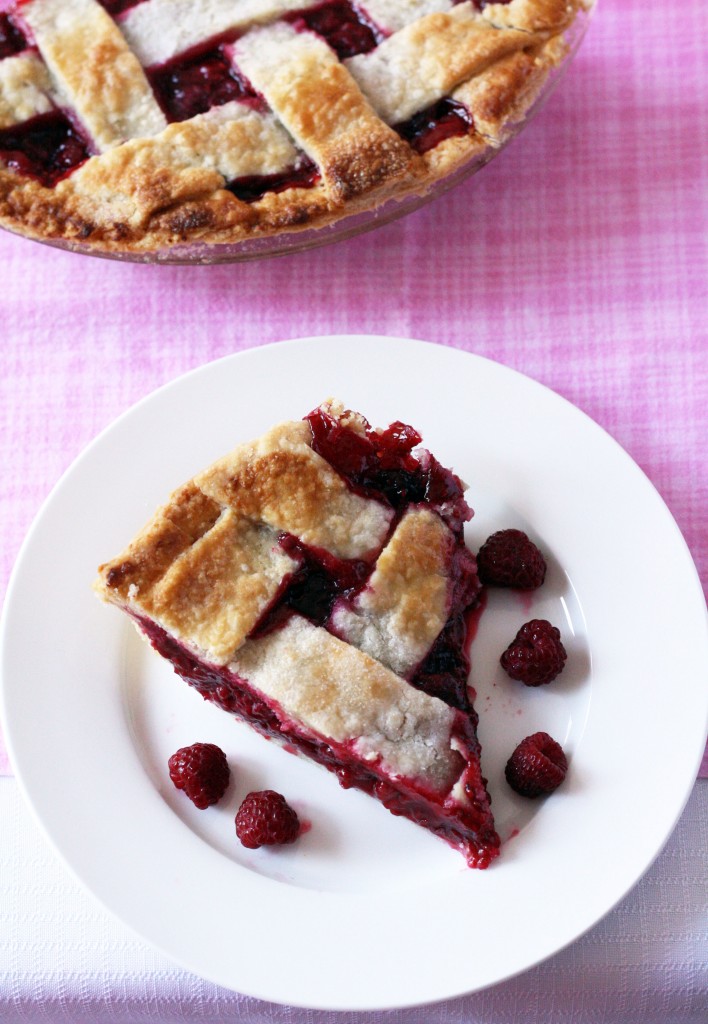
Raspberries have always been my most anticipated fruit of the summer.  Wild raspberries are even better but finding enough of them to make a pie is tricky.  My three kids and I headed down to the beach a few weeks ago and found a nice little patch of wild raspberries that we quickly picked cleaned.  They were so sweet and bursting with flavor that I’m sure they would have made a mean Raspberry Pie.  Nevertheless, Ontario raspberries are just as delicious and we used them in this pie that turned out perfect.

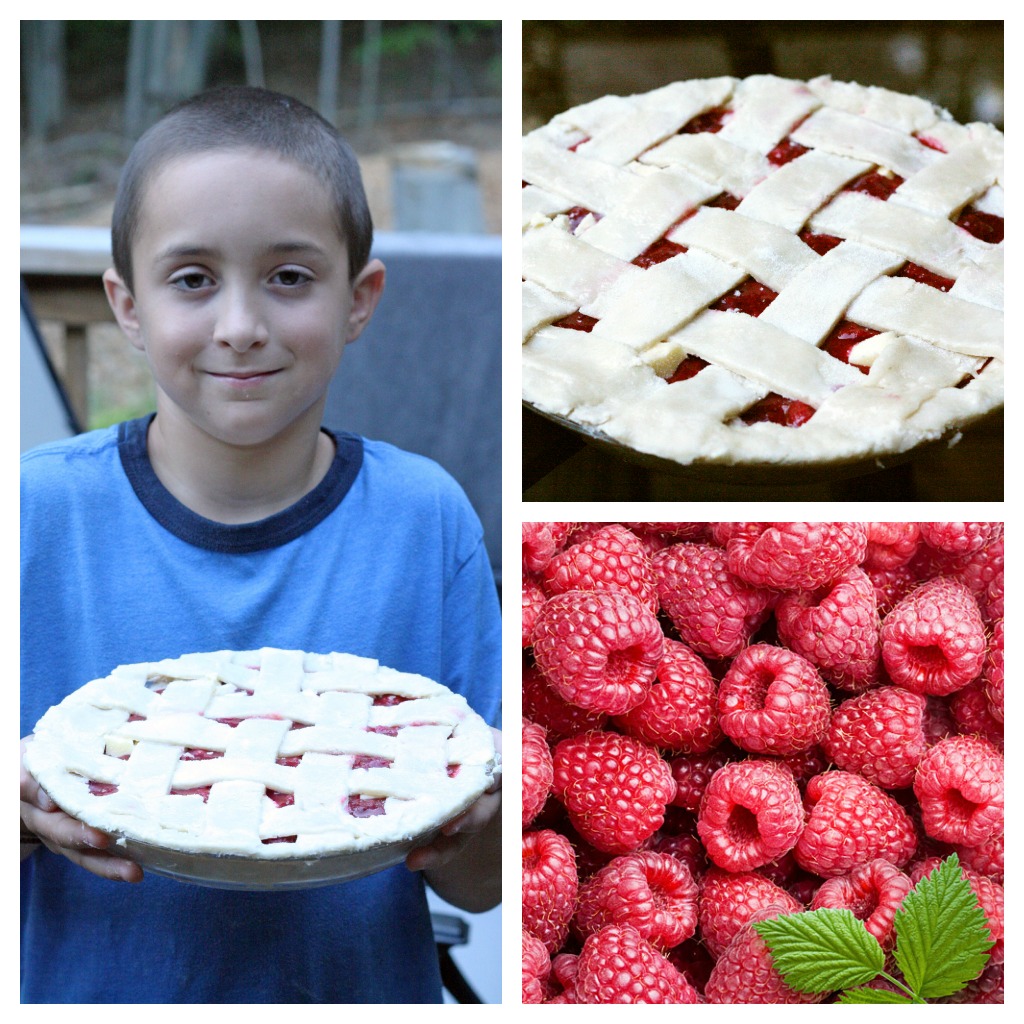
Earlier this week as I was tucking my two boys into bed I asked them what three things they could do this summer that would make it perfect for them.   Joshua went first and his three things were 1) make a homemade blueberry pie with Mom, 2) go back up to Nanny’s and Papa’s cottage and, 3) go to Splash Canyon Resort for the day.  Isaac, my oldest, said 1) to have his best friend, Evan, over for the day, 2) go back up to Nanny and Papa’s cottage, and 3) make a homemade raspberry pie with Mom.    When they both finished I was thinking, Is that all?  Wow, that seems pretty simple, we can do that!  I was anticipating things that involved lots of money or trips that were crazy-ridiculous.  So, to get started with the lists, Isaac and I set out to make a delicious Raspberry Pie!  The picture below is the finished pie before it went in the oven.

And, after coming out of the oven.  Mmmm, mmmm!

Recipe from Canadian Living


Tequila-Lime Peach Galette

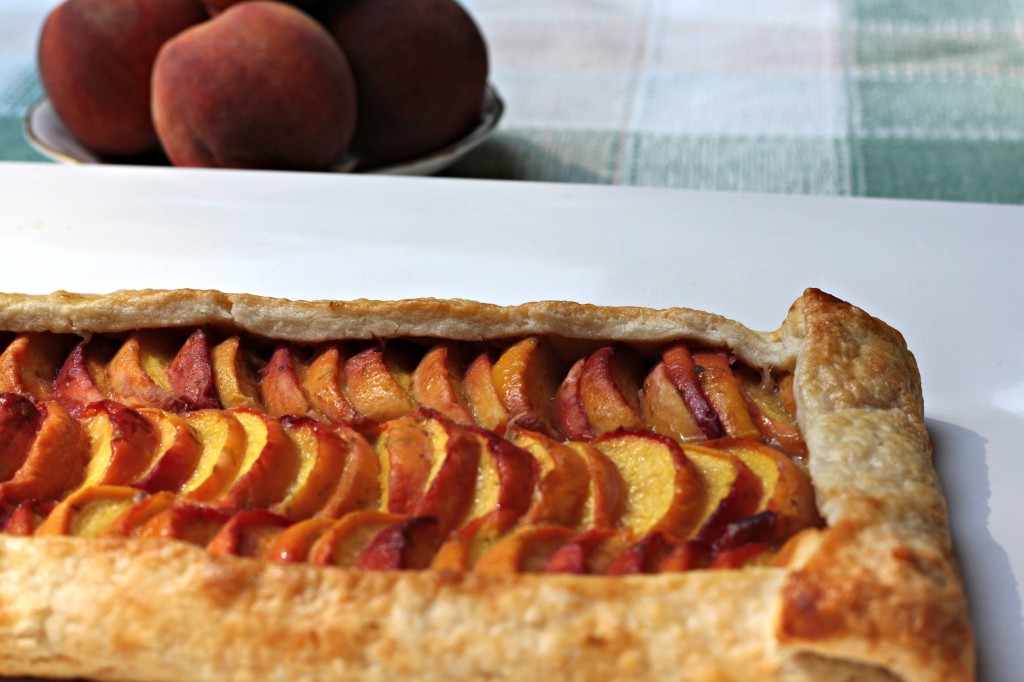
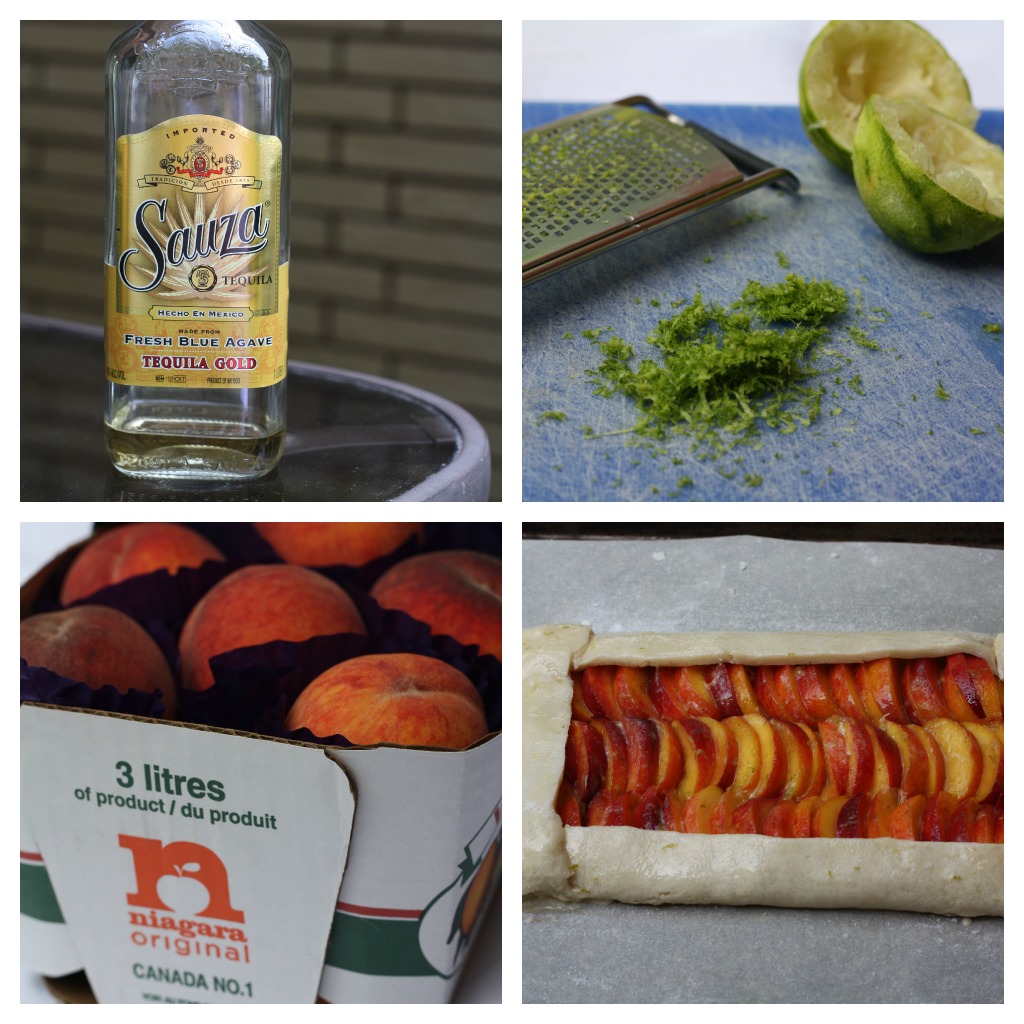
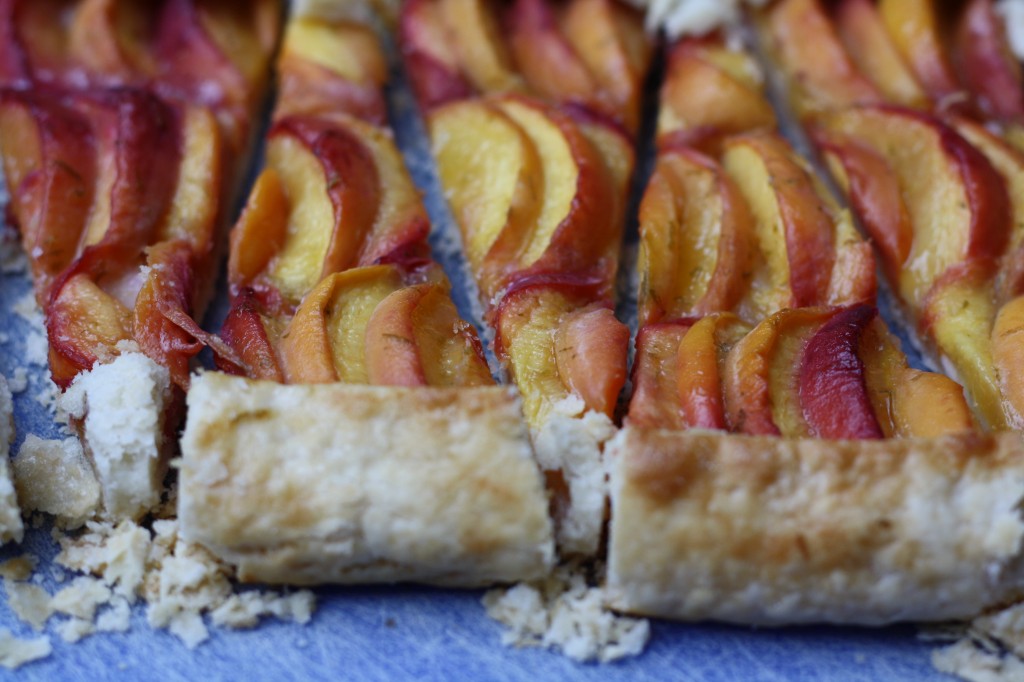
This week my mission was to do something with sweet, Ontario peaches.  Thanks to Carole from The Yum Yum Factor I discovered the weekly Gastropost challenges from the National Post.  Each week a new theme or ingredient is given and people can submit photos and/or recipes and each week Gastropost publishes them in the National Post.   I’ve never really baked with peaches before so I was excited for the challenge.  I thought of making peach jam or peach shortcakes, but when I saw this recipe I knew my husband would love it.  Since his favorite drink is a Margarita I knew the combination would be a hit.  Although he can drink Tequila in a drink, he knows to avoid shots of it.  One Tequila, two Tequila, three Tequila, FLOOR!  That’s a whole different story!

When I served this galette at a family dinner I served it with real whipped cream.  I knew once I took a bite of it I should have served it with vanilla ice cream instead to make up for the lack of sweetness of the galette.  Next time, I’m definitely going to make a sweet crust and add some sugar into the tequila mixture.  Maybe I’ll even serve it with peach margaritas!

Recipe adapted from

Cottage Butter Tarts

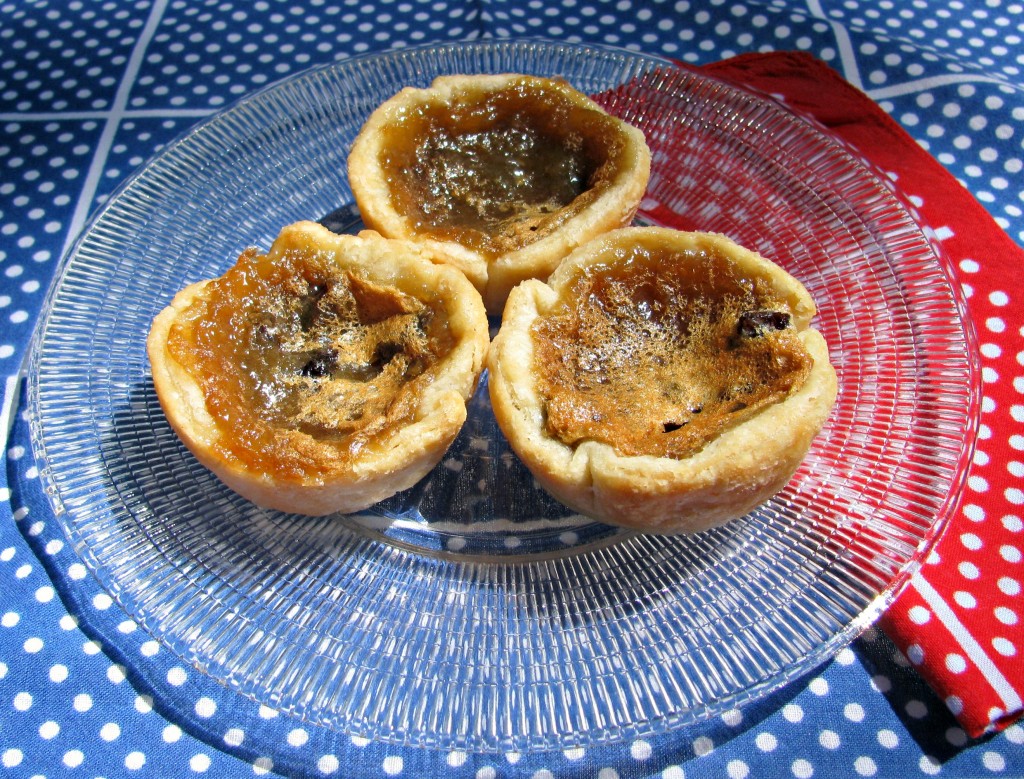
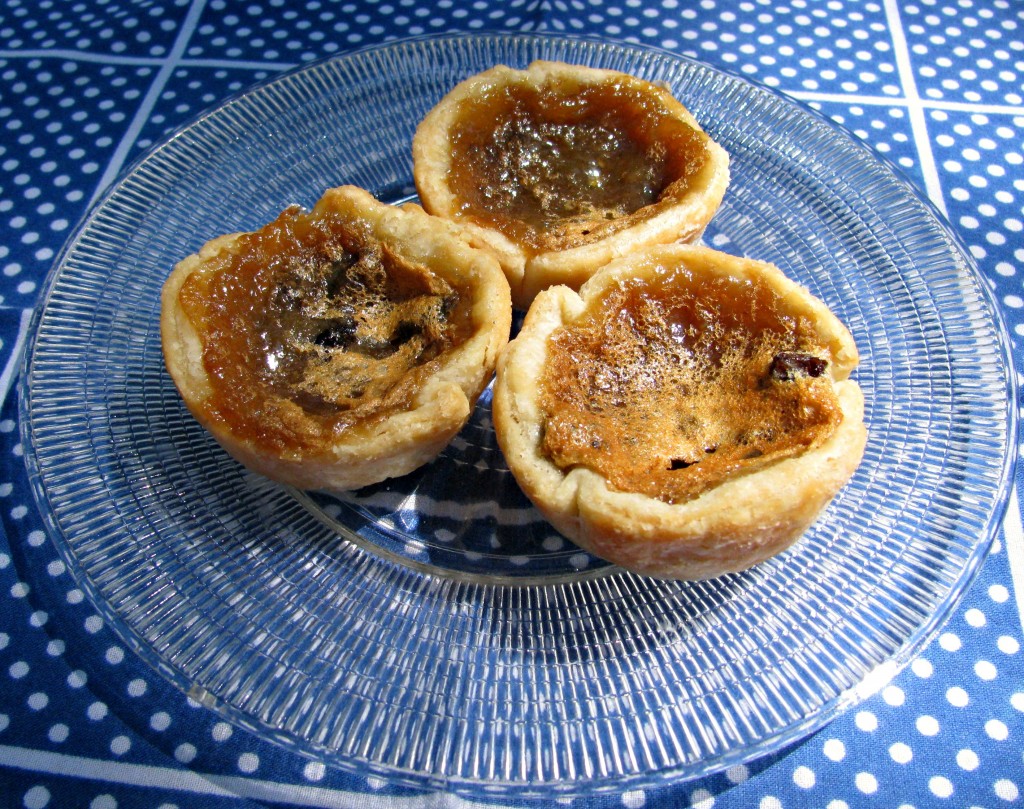
Butter Tarts have been a long-standing favorite in our family.  My grandfather (Pere) loved butter tarts and would always enjoy them with a cup of tea.  I remember one Christmas when my husband was new to our family, he wanted to make homemade butter tarts for my grandpa.  He even went as far as making the dough himself!  I was definitely impressed and thought my grandpa would be too.  So, when we sat down for dessert after a great Christmas meal, we all waited to see my grandpa’s expression on his face as we watched for his reaction to the butter tarts.  He didn’t say much so we all new that something was up.  My husband had a bite and knew right away what was wrong – he handled the pastry too much.  The butter tarts were like hockey pucks!  My grandpa laughed about it and even managed to finish his tart (I’m sure he had lots of tea to wash it down!).  Needless to say, it’s been a running joke in our family ever since.  This time I’m learning how to make them properly, compliments of my mother-in-law, at their family cottage.

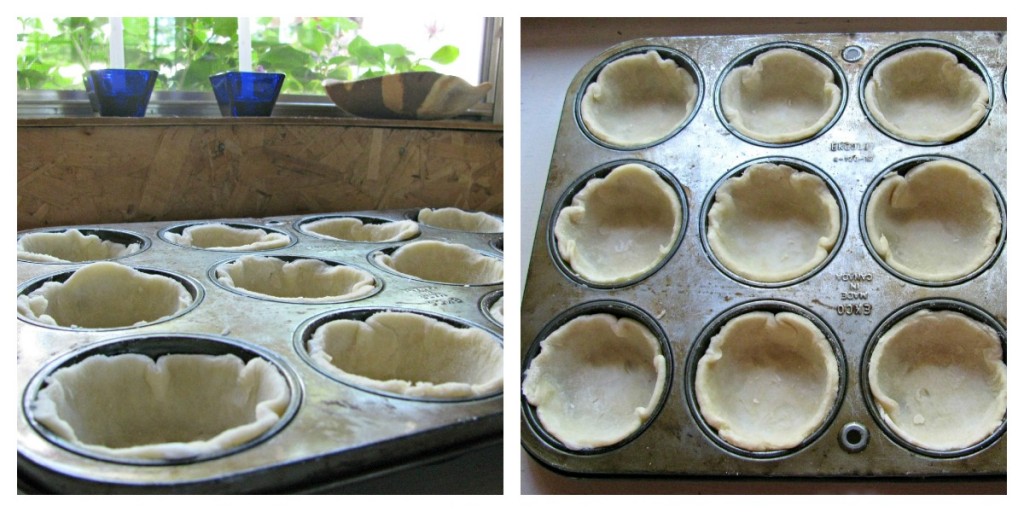
We followed the recipe on the back of the Tenderflake® package and used an old 19 oz. tomato can to cut out our perfect size tart shells.

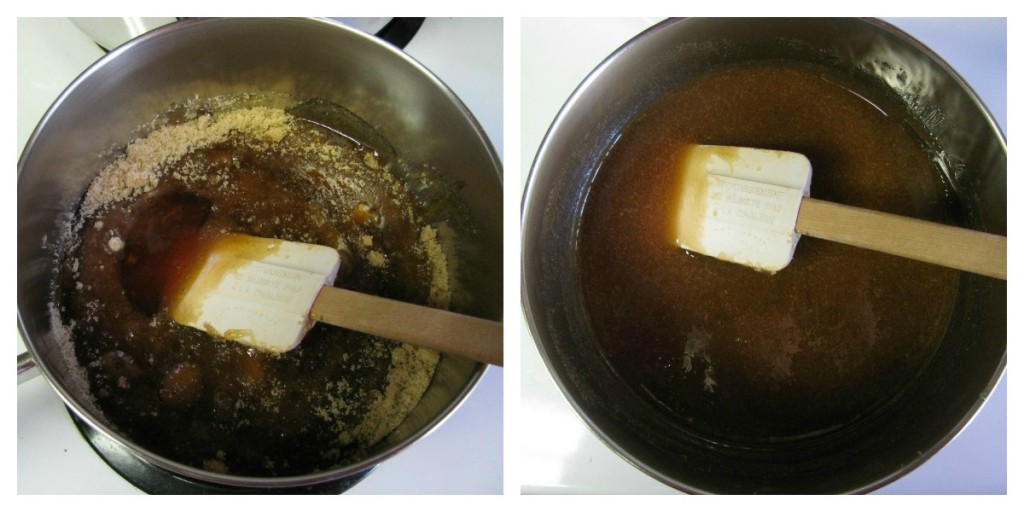
After measuring our ingredients we had to melt it on the stove-top.  Do not bring to a boil, however.  It’s very tempting to lick the spoon during this process.  Try to hold out until the end, if you can!

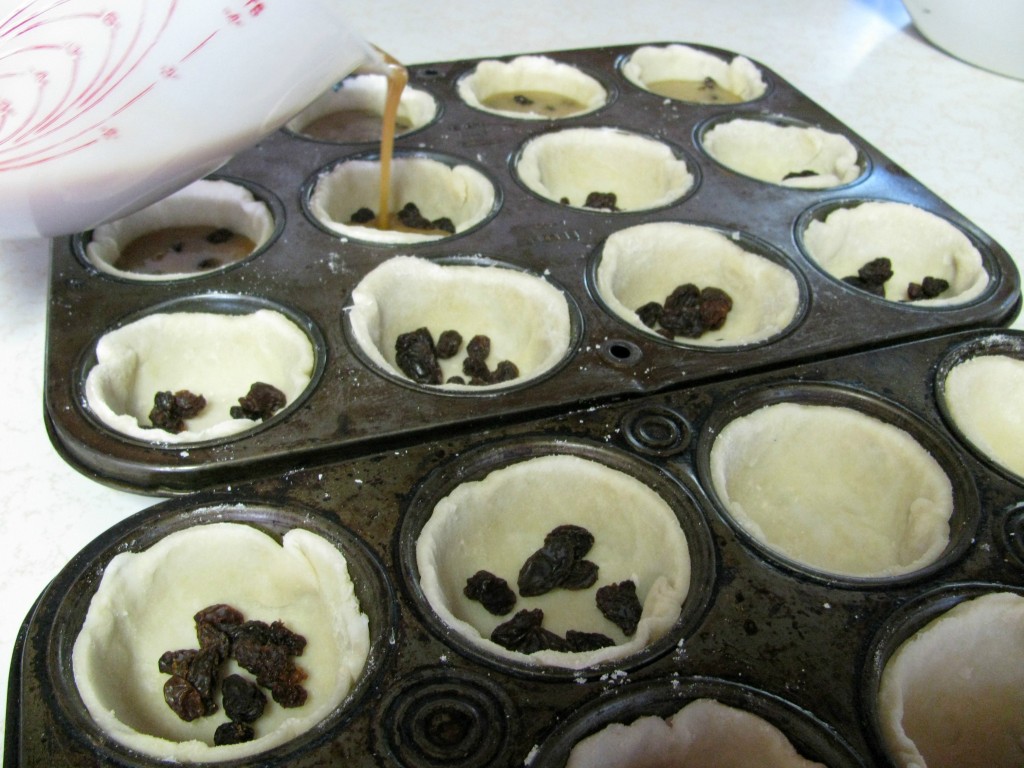
After the sauce is nice and melted, pour into the egg mixture whisking rapidly so the eggs don’t cook from the heat of the sauce.  We added to raisins to the tart shells before adding the sauce.  Feel free to omit the raisins or add pecans, chocolate chips, dried cranberries, etc.

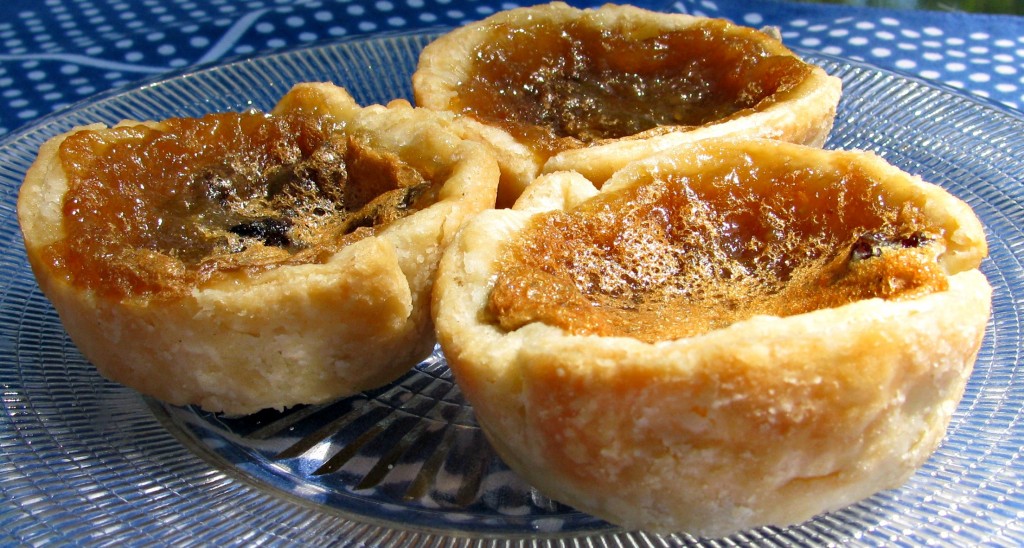
Next, they were ready for the oven and out came some pretty darn good butter tarts.  The pastry was flaky and the inside was perfectly gooey.  If you like a runny butter tart you might have to adjust the recipe.  Now, if only I had a cup of tea to go with these….

Cottage Butter Tarts

For the pastry:

  • 5 1/2 cups of all-purpose flour
  • 2 tsp salt
  • 1 lb (464 g) Tenderflake® lard
  • 1 tbsp vinegar
  • 1 egg, lightly beaten
  • Water

Mix together flour and salt. Cut in Tenderflake® with pastry blender or 2 knives until mixture resembles coarse oatmeal. In a 1 cup measure combine vinegar and egg. Add water to make 1 cup. Gradually stir liquid into Tenderflake® mixture. Add only enough liquid to make dough cling together. Gather into a ball and divide into 6 equal portions. If desired, wrap unused portions and refrigerate or freeze. Roll out each portion on lightly floured surface. If the dough is sticking chill 1 – 2 hours.

For the filling:

  • 1 cup corn syrup
  • 2/3 cup brown sugar
  • 2 eggs
  • 1/4 tsp. salt
  • 1/4 cup cubed butter
  • 1/2 tsp. vanilla

In a pot, mix together the corn syrup and brown sugar and cook gently for about 5 minutes.  Cool slightly.  In a separate bowl, whisk the eggs and salt together.  Add the syrup mixture to the egg mixture, whisking constantly.  Add the cubed butter and vanilla and mix until butter is melted.  Pour into tart shells about 2/3 full.

Bake at 450°F for 10 minutes.  Reduce heat to 350°F and bake for another 5 minutes or until golden brown.  Enjoy!


< <