Maple Vanilla Rice Pudding {Lactose-Free}

Is there one food that you love but wonder why you don’t eat more of it?  Rice Pudding is one of those foods for me.  I love the stuff but I only seem to eat it about two times a year.  I don’t why because it’s easy to make and you don’t even have to let it cool.  You can eat it warm, straight out of the pot, if you want.
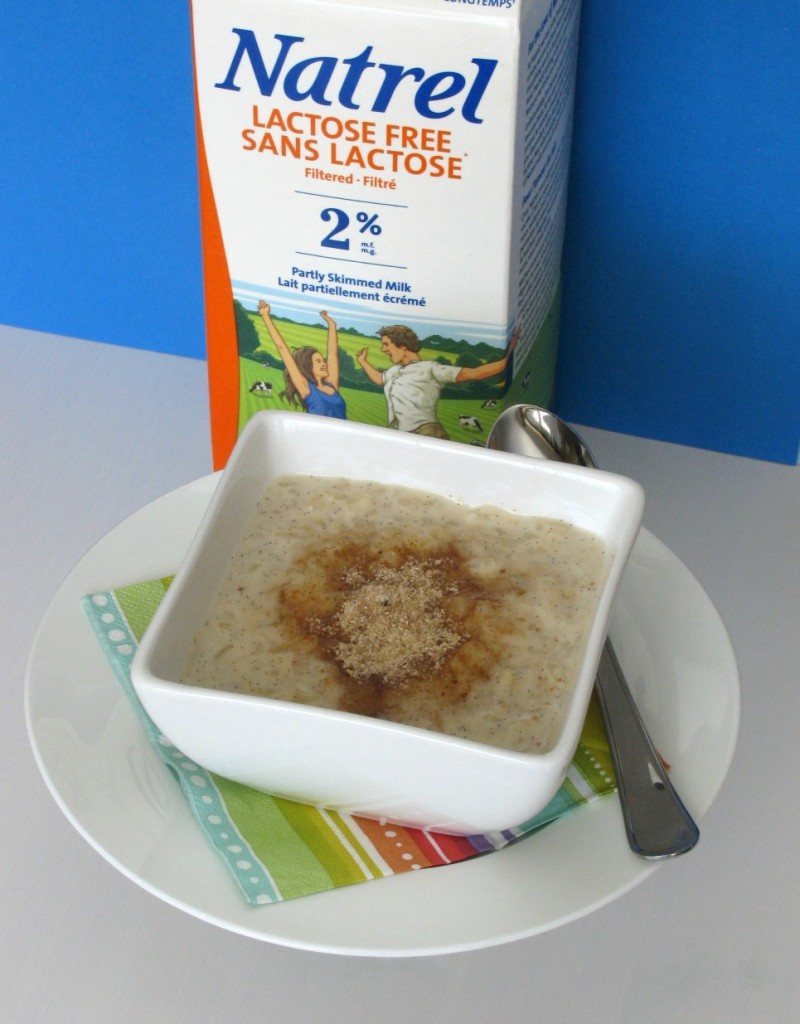
 

Maple Vanilla Rice Pudding

When Natrel contacted me to come up with a lactose-free recipe for their Lactose Free Campaign I immediately said yes.  I always drank regular milk growing up but for the last year or so I’ve made the switch to lactose-free milk.   Natrel’s lactose-free milk is smooth, creamy and delicious.  I actually enjoy drinking milk again!
This Maple Vanilla Rice Pudding is the perfect dessert served warm or cold.  I took advantage of the fact that it was made with lactose-free milk that I had two servings while it was still warm!  It was the perfect afternoon snack.
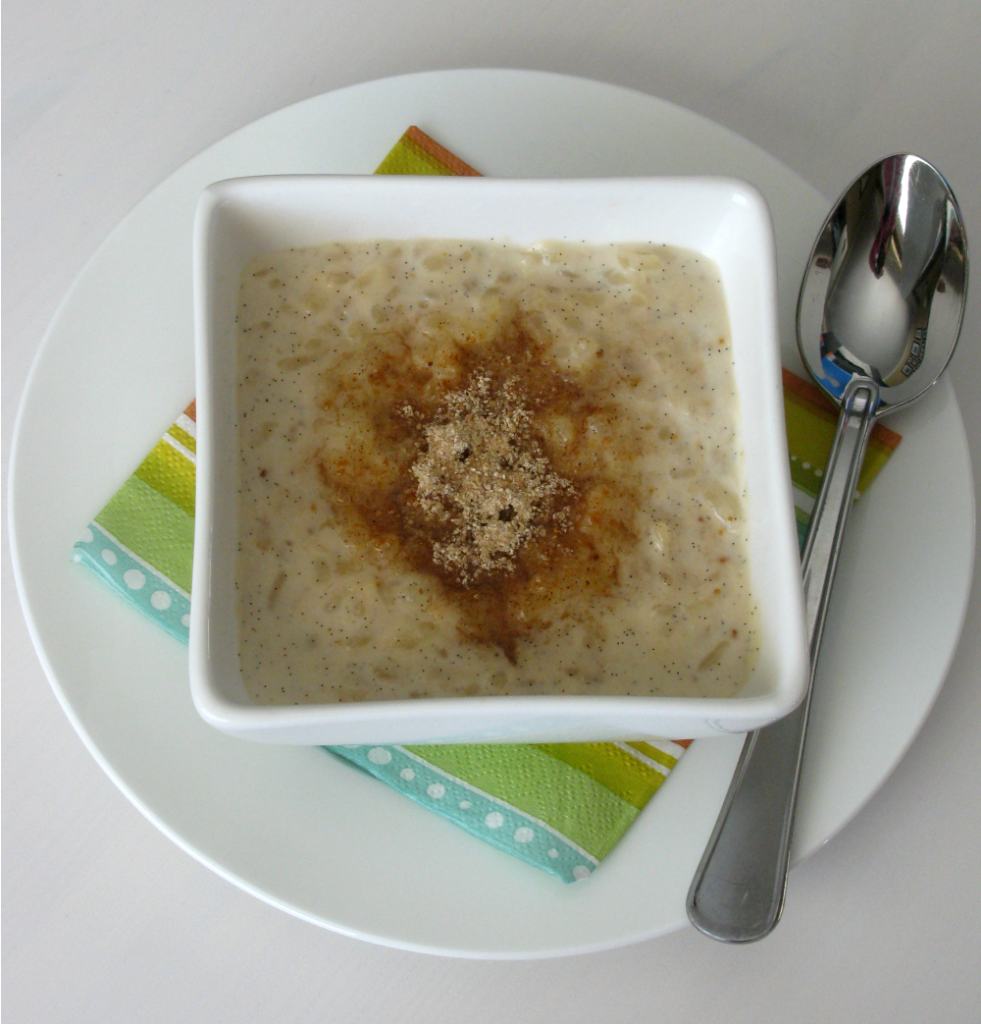
Maple Vanilla Rice Pudding

Can you see all those vanilla beans in there?  I love how such small things can add so much flavor.  I also topped mine with some Maple Sugar Spice (which is optional).  Since I’ve found an amazing lactose-free milk, I know I’ll be making this Rice Pudding many more times!
You can check out my recipe on Natrel’s website here.  Enjoy!
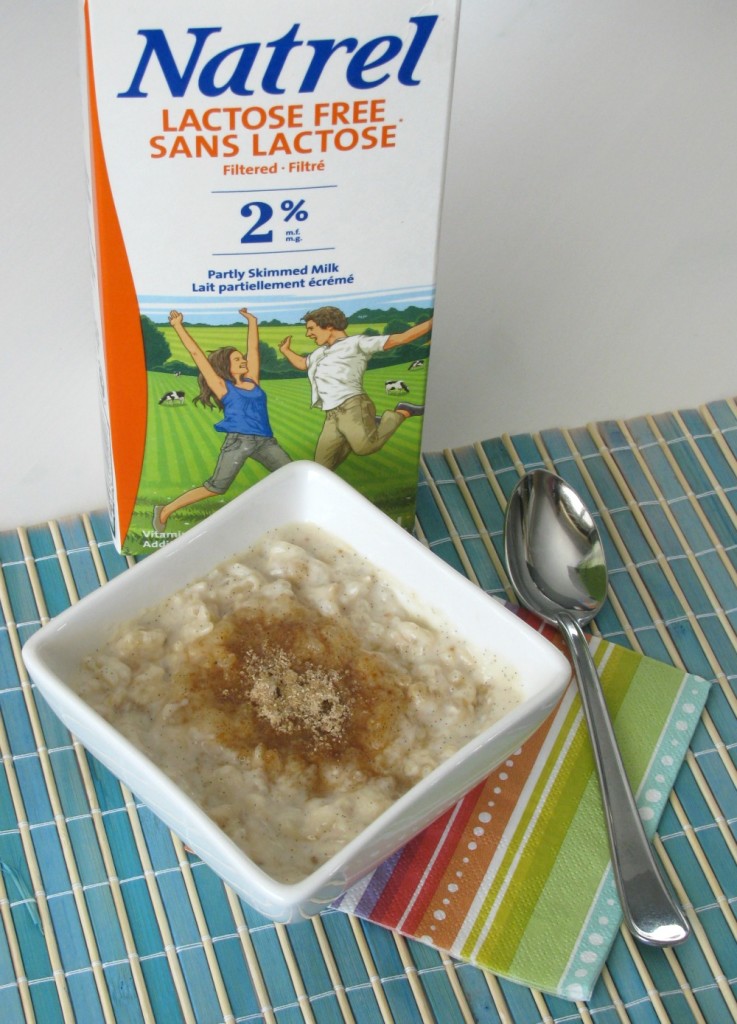
Maple Vanilla Rice Pudding

Maple Vanilla Rice Pudding {Lactose-Free}

Prep Time: 5 minutes

Cook Time: 40 minutes

Total Time: 1 hour, 45 minutes

Yield: 6 servings

A delicious rice pudding infused with maple syrup and vanilla beans. This rice pudding can be made with regular or lactose-free milk.

Ingredients

  • 4 cups Natrel Lactose Free milk
  • 1 ⁄2 cup arborio rice
  • 1 ⁄3 cup maple syrup
  • 1 whole vanilla pod
  • *Maple Sugar Spice (optional)

Instructions

Pour milk into a medium sized saucepan.
Add arborio rice.
Add maple syrup and stir.
Bring to a boil, reduce heat to medium-­low and simmer, stirring frequently for 40 minutes.
Scrape the seeds out of the vanilla pod and stir into rice pudding.
Spoon into individual dishes, let cool slightly, cover with plastic wrap and refrigerate.
You can also enjoy warm, sprinkled with *Maple Sugar Spice.
Enjoy!
Schema/Recipe SEO Data Markup by
https://asweetbaker.com/maple-vanilla-rice-pudding-lactose-free/

Disclosure:  I was compensated for contributing this recipe to Natrel but this post and opinions are my own.

Margarita Macaroons

Are you finally ready for warmer, sunnier weather?  I know I am!  The last few days have been warm and sunny that the whole family has been enjoying the outdoors.  I just hope it stays for good this time!
I originally shared this post on What’s Cooking with Ruthie when I was on my cruise in March.   Since the weather on my cruise was so much warmer than it was here, I may have indulged in a few margaritas during happy hour!  I was inspired to make these Margarita Macaroons to incorporate my love of sweets and my love of a good margarita!


Margarita Macaroons

These macaroons are made with my favorite citrus fruit, lime, but I’m sure they would taste just as good with lemon, orange or grapefruit.  Now, there is a bit of tequila in these macaroons but it’s not, in the least, overpowering.  I added 1 Tbsp. but you can certainly add more if you want more of the tequila taste.  I wanted the lime to shine through and I think I found the perfect balance.

Margarita Macaroons

I’m not sure if you can tell from the picture above but these macaroons are very moist and chewy.  Just the way I like them!  I liked how they toasted perfectly on the top and bottom and the centers stayed soft and gooey.  Because they’re Margarita Macaroons you can also add some salt sprinkled over the top to give them that sweet and salty taste.  If you’re a tequila fan, you might also like my Tequila-Lime Peach Galette I made last summer.  It was a nice, light dessert using the season’s freshest peaches!
Here’s hoping these will get you in the mood for warm weather, sunny skies, and relaxing with your feet up!  Cheers!

Margarita Macaroons


Margarita Macaroons

Prep Time: 15 minutes

Cook Time: 20 minutes

Total Time: 35 minutes

Yield: 18-20 macaroons

Moist and chewy coconut macaroons infused with tequila and lime, just like the classic margarita!

Ingredients

  • 2/3 cup sweetened condensed milk
  • 1 Tbsp. fresh lime juice
  • 1 Tbsp. tequila
  • 1 tsp. fresh lime zest (about 1 lime)
  • 1 large egg white
  • 1 & 1/2 tsp. vanilla
  • 1/4 tsp. salt
  • 3 & 1/2 cups sweetened flaked coconut
  • Coarse salt for sprinkling on top (optional)

Instructions

Preheat oven to 350 F. Prepare two cookie sheets with parchment paper and set aside.
In a medium size bowl, whisk together sweetened condensed milk, lime juice, tequila, lime zest, egg white, vanilla, and salt.
Stir in coconut until well combined.
Using a small cookie scoop, scoop out mixture and place about 2 inches apart on prepared cookie sheets.
Bake for 20 minutes or until lightly golden brown on top.
Remove from oven and sprinkle with coarse salt (optional). Let cool completely.
Enjoy!
Recipe adapted from Two Peas and their Pod
Schema/Recipe SEO Data Markup by
https://asweetbaker.com/margarita-macaroons/

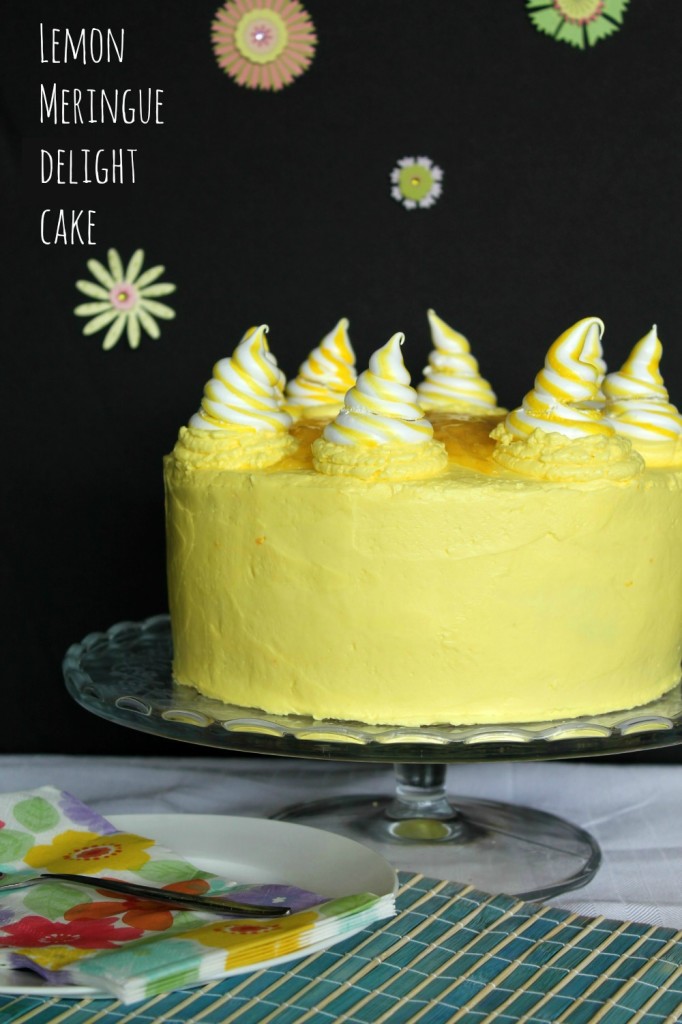
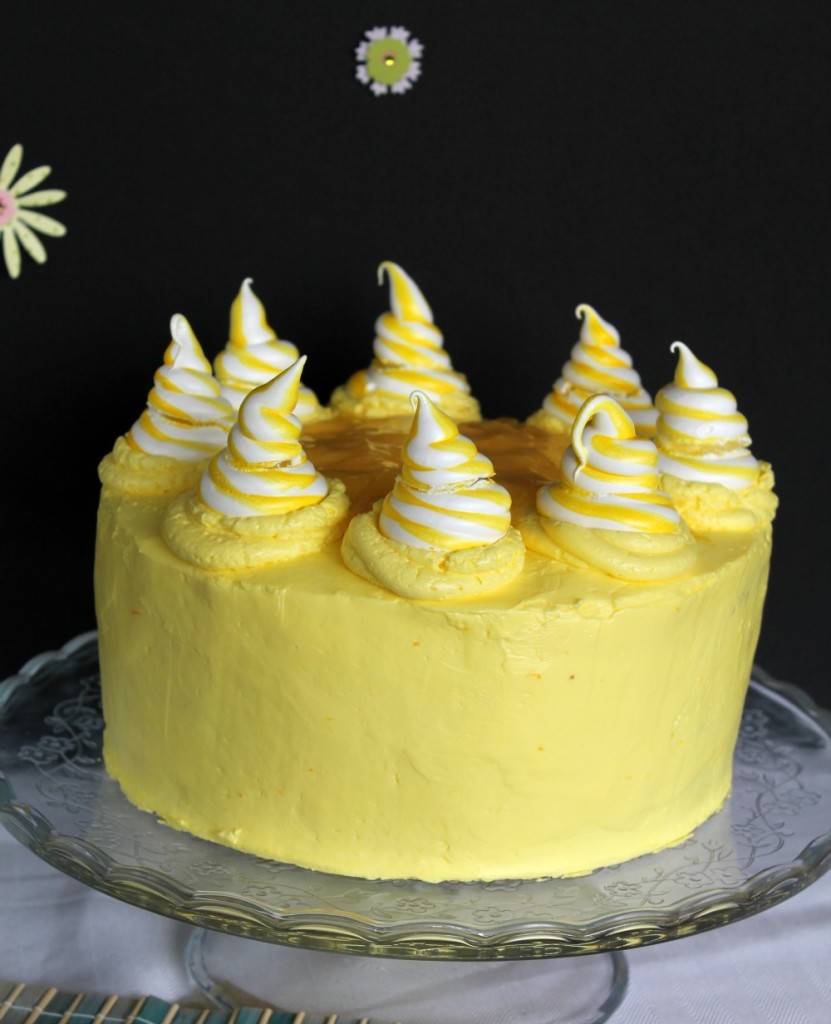
Lemon Meringue Delight Cake

I love lemons.  So, when my brother asked his girlfriend what kind of cake she wanted for her birthday, she said lemon.  Perfect!
I set out to find a fancy lemon cake recipe because, well let’s be honest, I’ve never made a fancy cake before.  This recipe looked perfect for what I had in mind, all thanks and credit to Rosie at Sweetapolita!  This Lemon Meringue Delight Cake was a big success and it tasted amazing!


Lemon Meringue Delight Cake

I made this cake over the course of a few days, which was a good thing.  There were lots of things that I never attempted before and I was happy that I gave myself time to do those things properly.  For one, I never made buttercream frosting before…..which I ended up making twice for this recipe…..more on that later!  
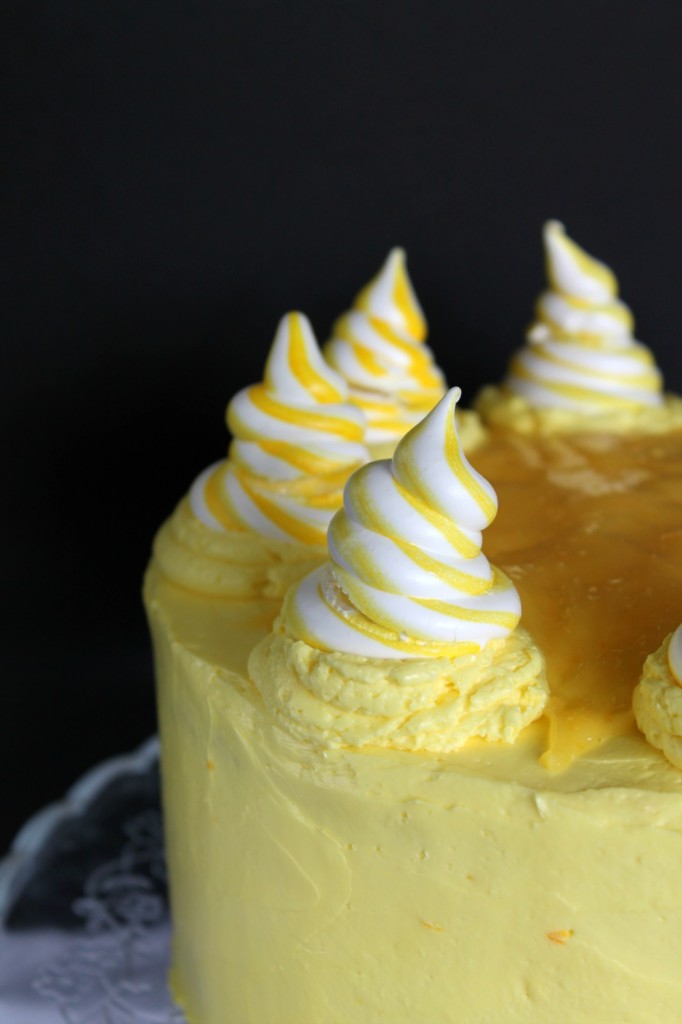
Second, I’ve never made meringues before, let alone swirling yellow food paste in them as well.  
Finally, I’ve never made my own lemon curd.  Why I’ve never made it before I don’t know because it’s AMAZING!

Lemon Meringue Delight Cake

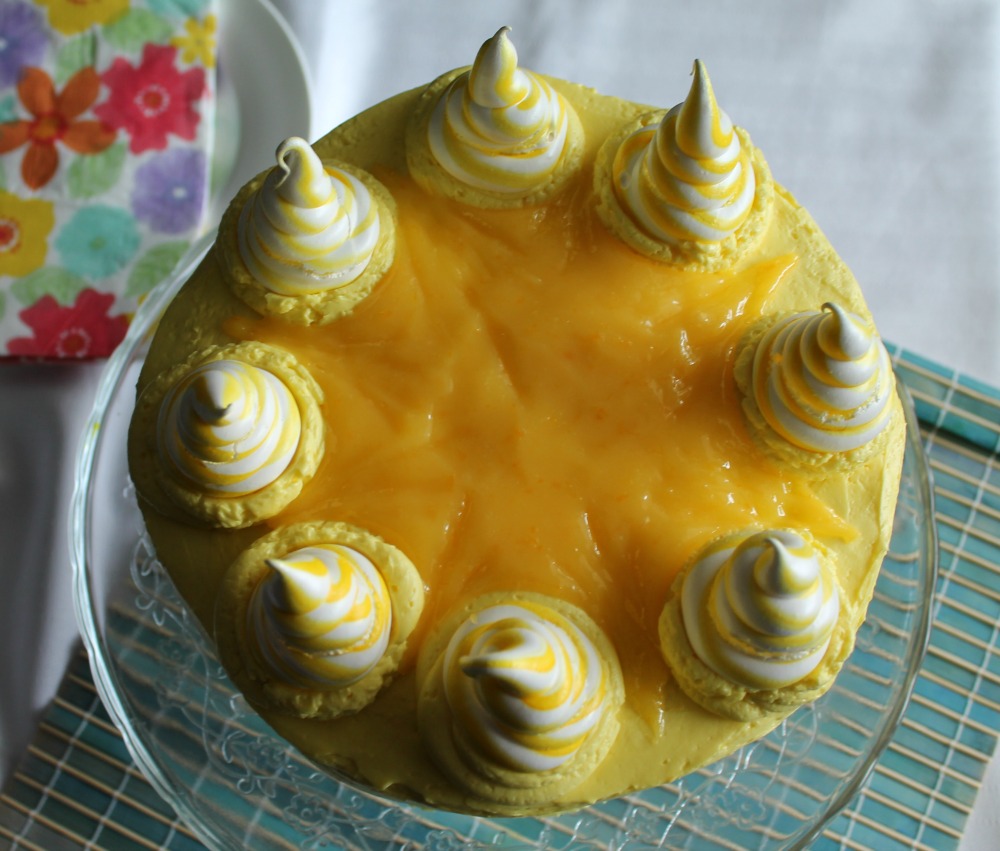
Lemon Meringue Delight Cake

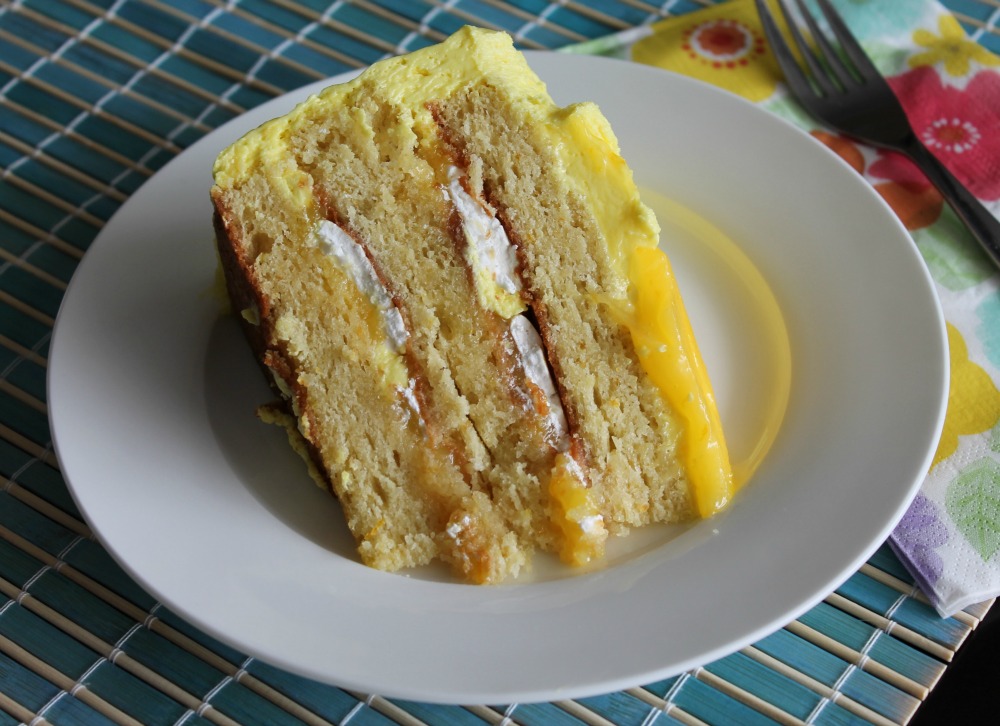
The texture of this cake was perfectly moist and the surprise of the meringue discs on the inside were delicious.  I don’t care for airy, tasteless cakes and this one was anything but that.  I was also impressed by the buttercream, since I’ve never made it before.  It was fairly easy to make and it was great to work with.  I loved that the lemon curd was added to it for a subtle, yet tasty, flavor.
Now that I’ve made this one fancy cake, I’ll be less intimidated to make another.  My husband’s birthday is coming up and he’s requested something with lime.  Let’s see what I can come up with for him!

Lemon Meringue Delight Cake

Lemon Meringue Delight Cake

This will be one recipe I won’t be posting the recipe for because Rosie at Sweetapolita explains everything so perfectly on her website.  Please visit her website for the recipe and to see her beautiful photos.
* Notes from my kitchen:
  1. For the cake, I didn’t have plain yogurt on hand so I used half sour cream and half vanilla yogurt and my cake still turned out great.
  2. If you make the Lemon Swiss Meringue Buttercream ahead of time, make sure you take it out the night before (like Rosie says to) and let it come to room temperature.  I took mine out early in the morning and was anxious to frost my cake so I let it stand for about 3 hours and I thought by mixing it in my stand mixer might help it along.  Wrong!  I ended up with a curdled, watery mess of buttercream and had to start over again!
  3. When you start your Buttercream over again, make sure you don’t use salted butter!  It doesn’t taste very good but you can use it anyway, like I did, because it was too late to run out to the grocery store!
  4. Since it was my first time making meringues I was pretty impressed with them, except mine cracked (as you can see in the pictures above) so maybe my oven is too hot or my meringue was too thick?  I’ll have to look into that.
  5. Enjoy!

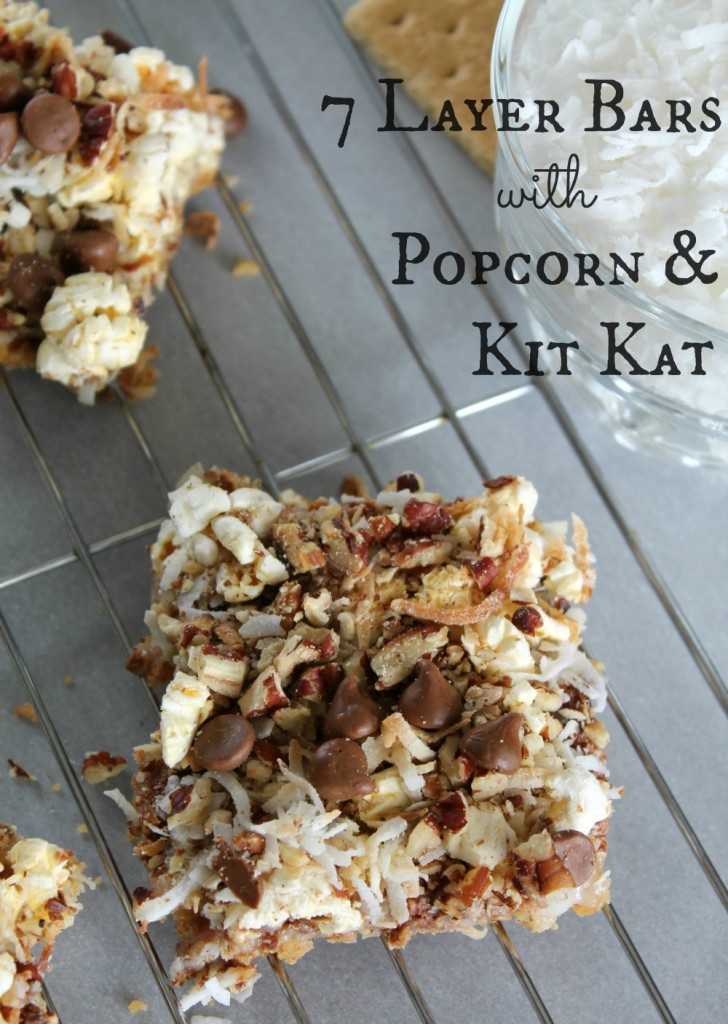
7 Layer Bars with Popcorn and Kit Kat

Ever since I started blogging I knew that I wanted to have my very own DSLR camera.  I had the good fortune of using one last summer and fell in love with it.  Ever since then, I’ve scanned flyers, online deals and the buy and sell ads.  Unfortunately, the majority of them were out of my price range.   Until last week that is!  My wonderful, awesome husband came home and surprised me with a brand-new Canon Rebel T3i!  These 7 Layer Bars with Popcorn and Kit Kat were the first pictures I took!

7 Layer Bars with Popcorn & Kit Kat

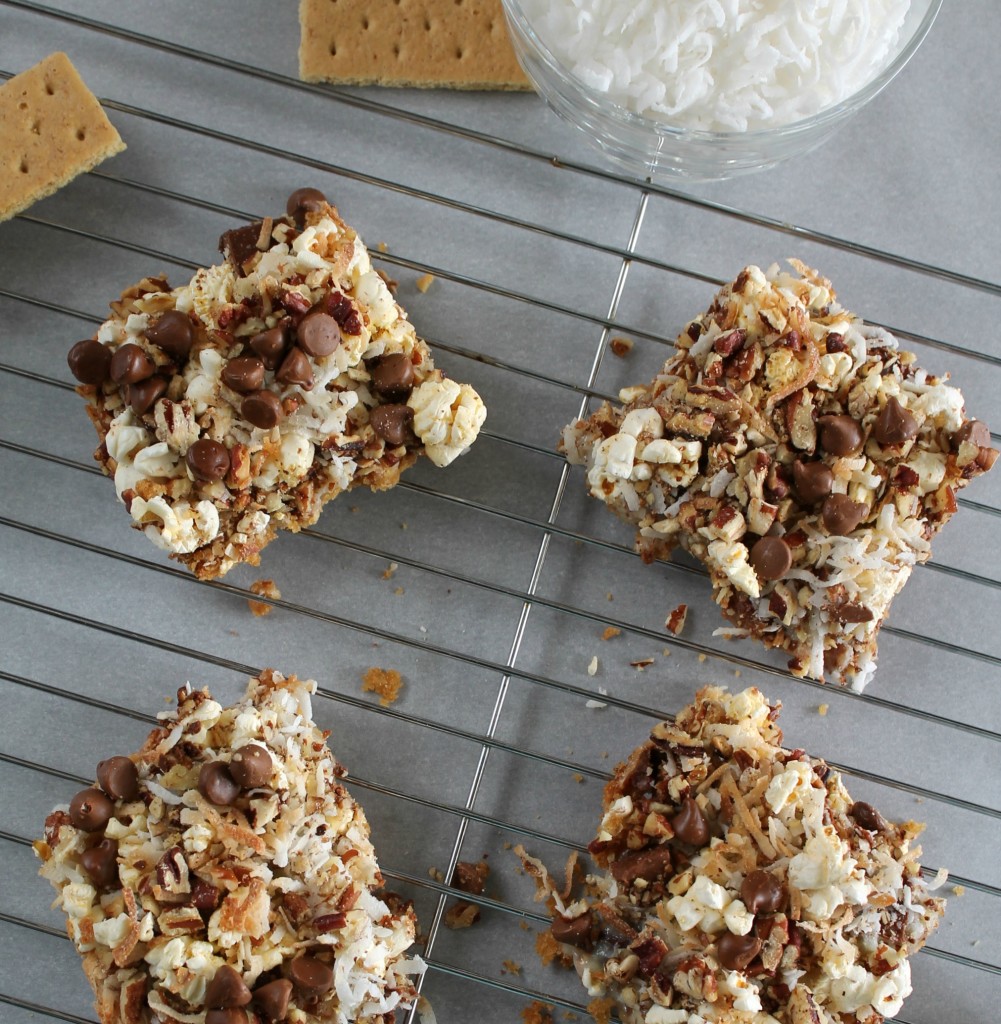
I decided to make these 7 Layer Bars with my son on one of his snow-days off.  I was craving popcorn and some type of bar dessert so we decided to combine the two.  I also had a couple of Caramel Kit Kat bars in the cupboard so I threw it all together.  What a great decision that was!  The whole pan was gone by the next afternoon.

When I was looking up a basic 7 Layer Bar recipe, my son pointed out it only had 6 layers.  I wanted it to be a true 7 Layer Bar and because my son was helping me, he wouldn’t let me stop at just 6!  Why call it 7 layers if you’re only going to have 6, right?

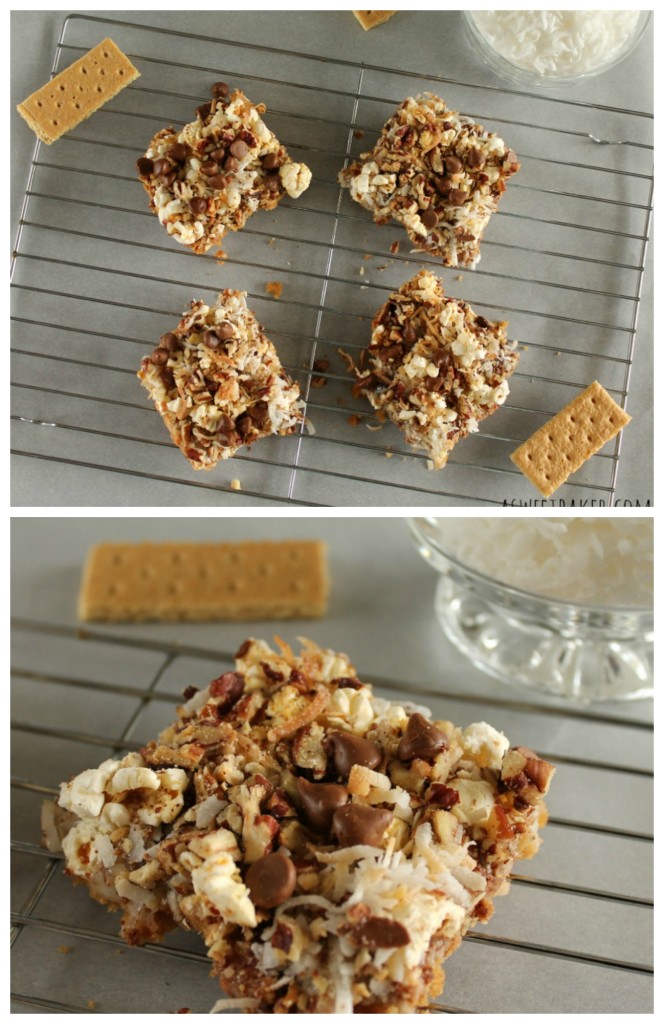
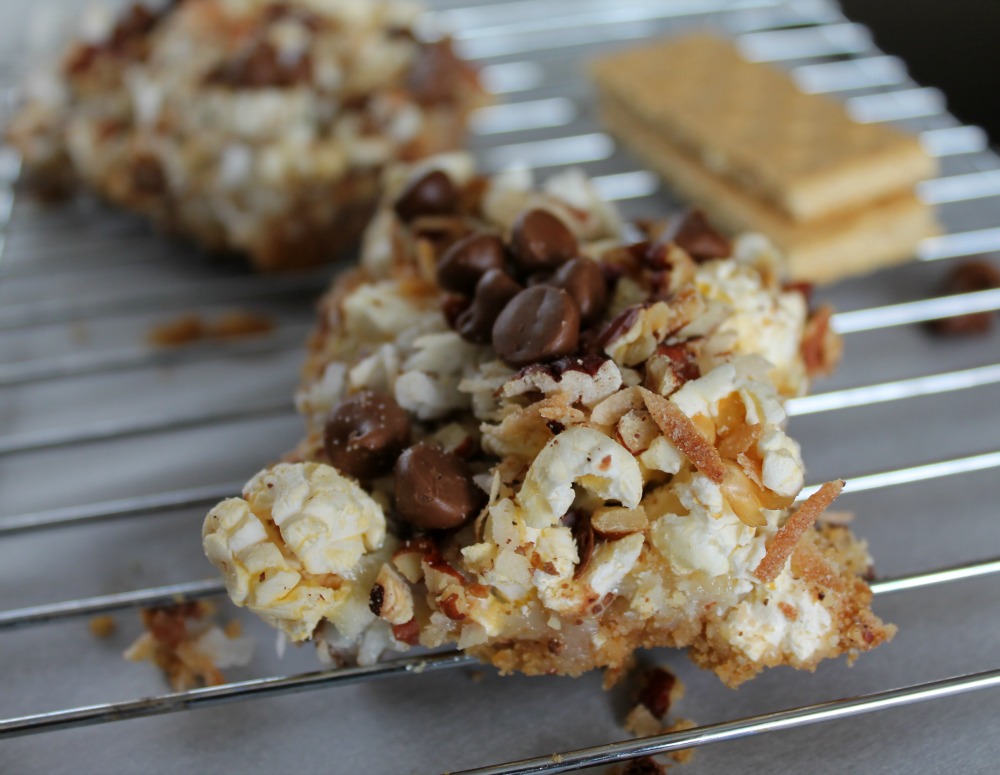
7 Layer Bars with Popcorn & Kit Kat

These bars turned out better than I expected.  They had the perfect sweet/salty combination that I was craving and I even turned some of my skeptic family members into fans of these bars.  My brother, who’s not a big sweet fan, had two pieces!  This recipe, I’m sure, will be made many more times in my house!

7 Layer Bars with Popcorn & Kit Kat

7 Layer Bars with Popcorn and Kit Kat

Prep Time: 10 minutes

Cook Time: 25 minutes

Total Time: 35 minutes

Yield: 20 bars

A perfect sweet & salty dessert bar that incorporates popcorn and Kit Kat bars.

Ingredients

  • 1 1/2 cup graham cracker crumbs
  • 1/2 cup butter, melted
  • 1 can (14 oz.) sweetened condensed milk
  • 1 bag of microwavable popcorn, butter flavor (you'll only need about 3/4 of the bag)
  • 8 sticks of Caramel Kit Kat bars, chopped
  • 1 cup flaked, sweetened coconut
  • 1 cup toasted pecan pieces
  • 1/2 cup milk chocolate chips

Instructions

Preheat oven to 350 F. Spray a 9X13 pan with cooking spray and set aside.
In a small bowl, mix graham cracker crumbs together with melted butter and pour into 9X13 pan. Press crumb mixture into the bottom of pan.
Pour sweetened condensed milk evenly over crumb mixture.
Sprinkle popcorn over sweetened condensed milk until covered.
Sprinkle Kit Kat bars over popcorn.
Sprinkle coconut over Kit Kat bars.
Sprinkle toasted pecan pieces over coconut.
Sprinkle chocolate chips over pecan pieces.
Bake for 20-25 minutes or until lightly browned.
Remove from oven and let cool on a wire rack. Loosen from sides while still warm.
Cut into bars and enjoy!
Schema/Recipe SEO Data Markup by
https://asweetbaker.com/7-layer-bars-with-popcorn-and-kit-kat/

Carrot Cake with Cinnamon Cream Cheese Frosting

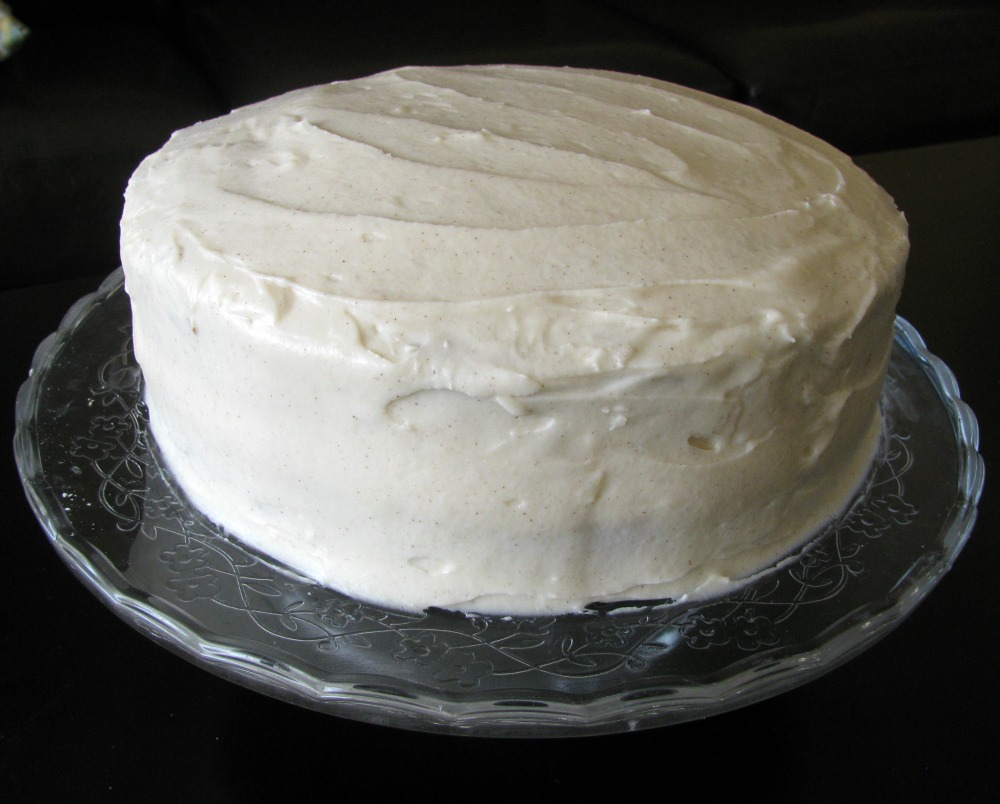
I know I’m a little late with the Carrot Cake recipe, seeing that most people associate it with Easter.  I did make it near Easter this year but it was for another special day.  It was my Dad’s birthday!   His birthday fell on the Saturday of the Easter weekend so I couldn’t post it before then.   I wanted a simple, moist carrot cake recipe and I knew I wanted to add some cinnamon to the basic cream cheese frosting.

Carrot Cake with Cinnamon Cream Cheese Icing1

Although this cake turned out great, I can’t say that about the first recipe I tried.  That one ended up in the compost bin!  It was way too oily and it tasted like baking soda – yuck!
This recipe still used oil, which you need for moisture, but it was the perfect amount.   I knew that it would probably turn out since most recipes from this website are “Tested ’till Perfect”, although this recipe was a reader’s recipe.

Carrot Cake with Cinnamon Cream Cheese Icing

I didn’t really ask my dad what his favorite cake was, but it was Easter and I was craving a Carrot Cake with Cinnamon Cream Cheese Frosting, so that’s what he got!   It was mostly for him and little bit for me.  If I’m baking it I get to have a little bit of a say, don’t I?!
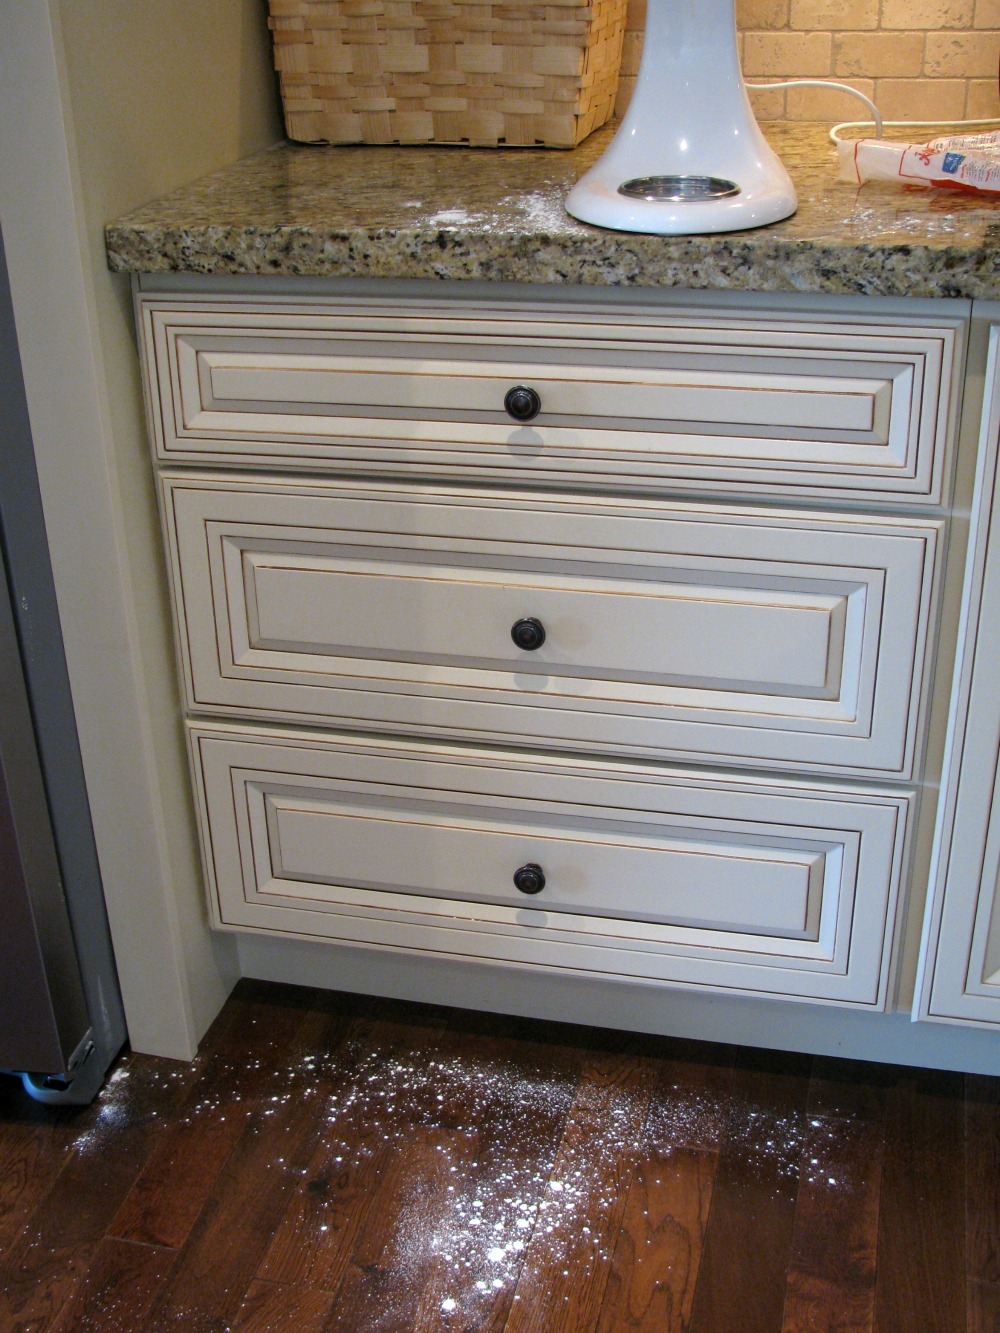
*The picture below is what my kitchen looked like after I made this cake.  My husband always laughs at me and says I should have called my blog “The Messy Baker”!  Sorry honey, there’s already a blog by that name.  Besides, I always clean up after myself and he always gets the sweet treats to eat!

Messy Kitchen

Carrot Cake with Cinnamon Cream Cheese Frosting

Prep Time: 20 minutes

Cook Time: 35 minutes

Total Time: 55 minutes

Yield: 10-12 servings

A classic, moist and delicious carrot cake smothered in a cinnamon-infused cream cheese frosting.

Ingredients

  • For the Cake:
  • 4 eggs, beaten
  • 2 cups all-purpose flour
  • 2 cups sugar
  • 2 tsp baking powder
  • 1 tsp ground cinnamon
  • 1/2 tsp baking soda
  • 3 cups finely shredded carrots, lightly packed
  • 3/4 cups vegetabIe oil
  • For the Frosting:
  • 1 pkg. cream cheese, room temperature
  • 1/2 cup butter, room temperature
  • 1 tsp. vanilla
  • 1/4 tsp. cinnamon
  • 3-4 cups icing sugar (depending on what consistency and sweetness you want your icing)

Instructions

For the Cake:
Preheat oven to 350 F. Grease and flour two 9x1/2-inch round cake pans; set aside.
In a large mixing bowl combine flour, sugar, baking powder, cinnamon, and baking soda.
In another mixing bowl whisk eggs and then add carrots, and oil. Add egg mixture to flour mixture. With a spoon, stir until combined. Pour batter into the prepared pans.
Bake for 30 to 35 minutes or until a toothpick inserted near the center comes out clean.
Cool for about 10 minutes in pans; then remove from pans to cool more thoroughly.
For the Frosting:
In a stand mixer with the paddle attachment, cream together cream cheese, butter, vanilla and cinnamon. Slowly add icing sugar until you reach the desired consistency and sweetness you want.
Spread icing on one cake and place the other cake on top. Use remaining icing to cover the entire cake.
Enjoy!
Cake recipe from Canadian Living
Schema/Recipe SEO Data Markup by
https://asweetbaker.com/carrot-cake-with-cinnamon-cream-cheese-frosting/

< <